


Rent server on
1. Installing
Use this script for a quick installation. Specify a name for your node and wait for the installation complete.
wget -O pontem.sh https://api.nodes.guru/pontem.sh && chmod +x pontem.sh && ./pontem.sh2. Install Polkadot Extension
To install, go to the site and download the latest version for your browser:
2.1 Greate account
For this example we create one account in network Pontem with name Nodes Guru.
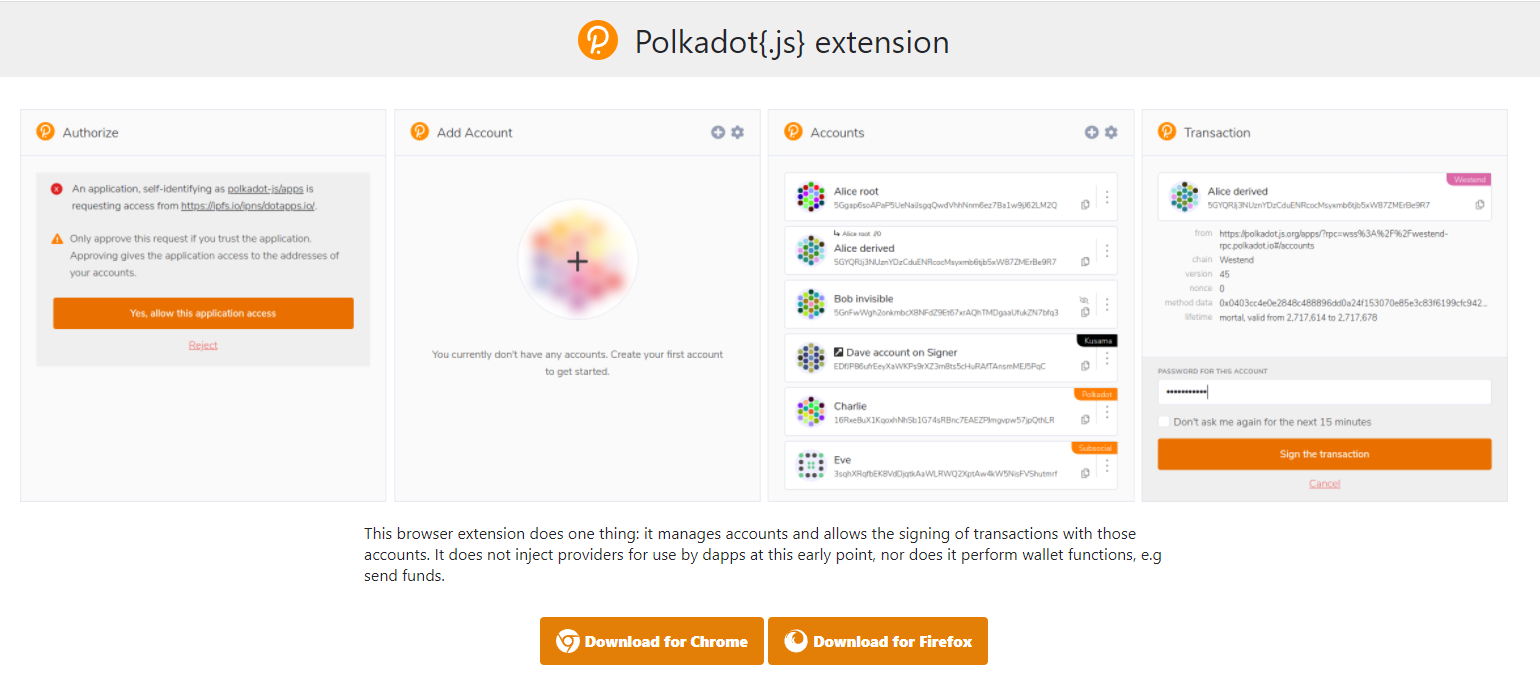
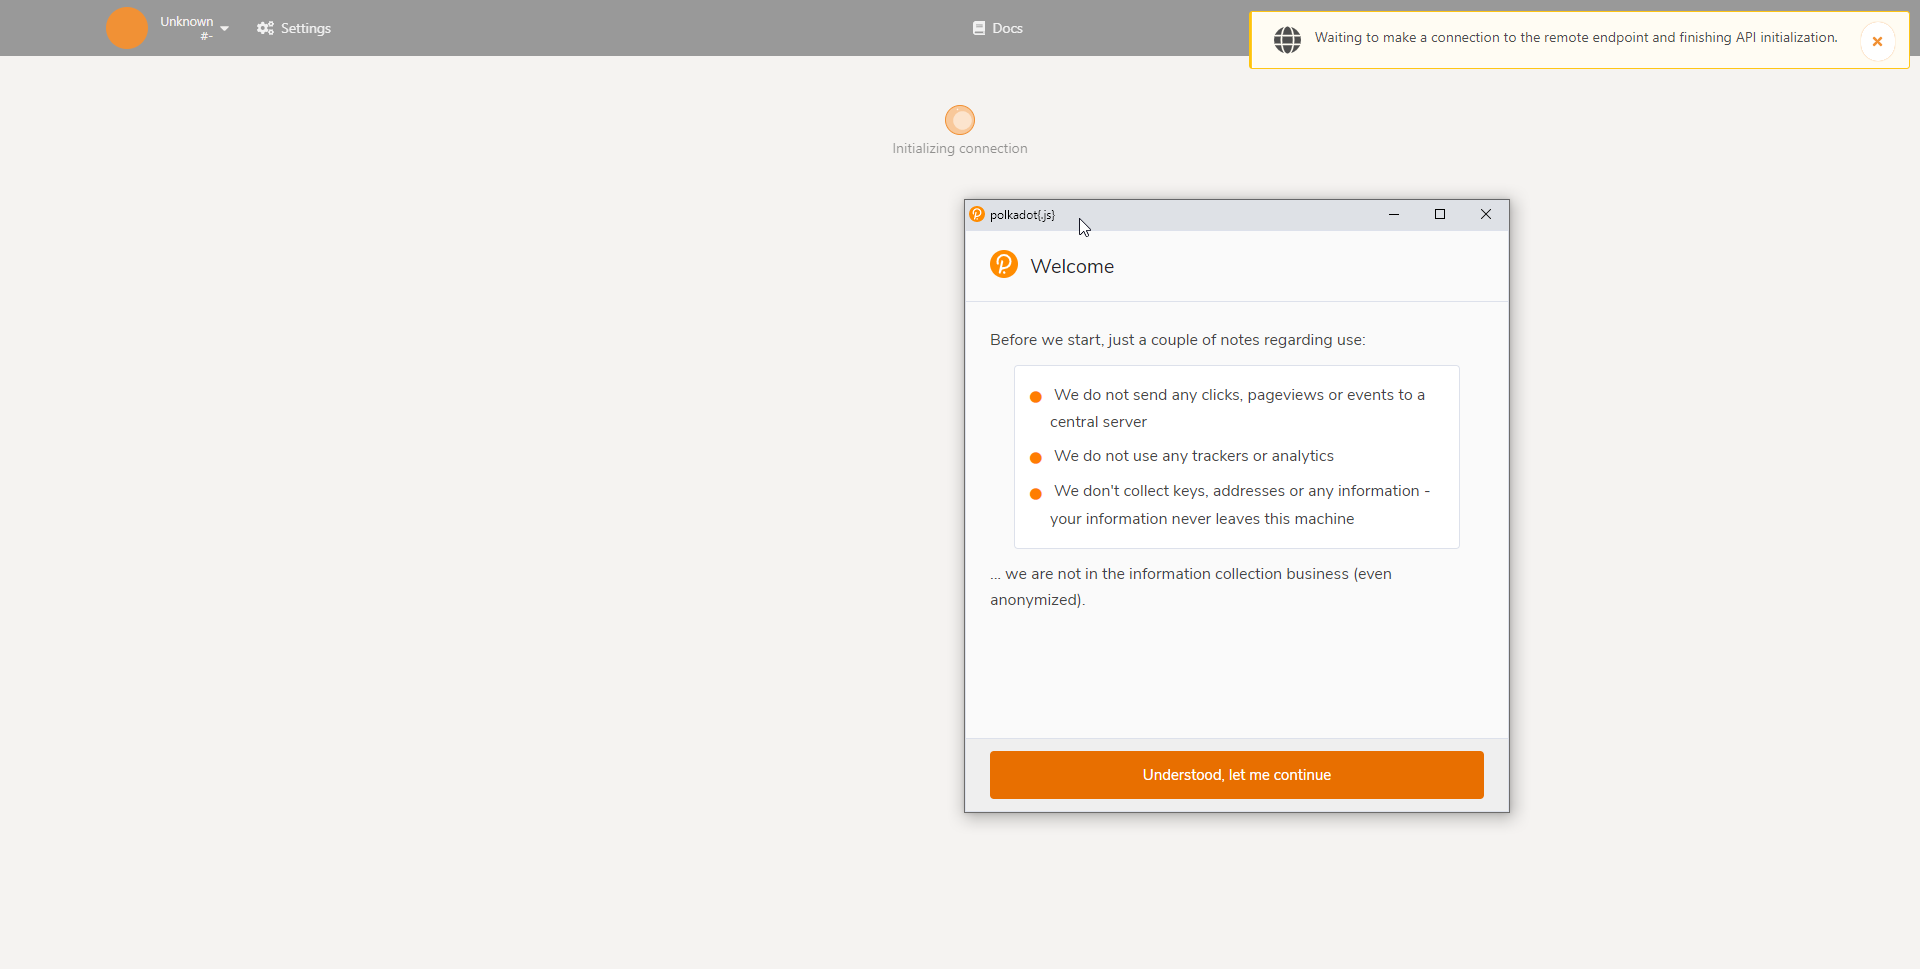
Go to the website and allow access to the extension in the popup window:
We need to create account, click Add account:

Save mnemonic and click “Next”:

Enter the name of the wallet, in this case is NodesGuru, enter the password and click Next.

Click next, save json file with key (the download will start automatically):

2.2 Balance replenishment.
Use FAUCET to get free testnet tokens (you can use it once every 24 hours).

After a while, check your balance, the tokens should appear on your account:
2.3 Map author to your account id
Replace with your mnemonic phrase from point 2.1. Don’t forget to save the generated data.
cd ~/pontem-bootstrap/ && docker-compose run pontem-node pontem key inspect --keystore-path /opt/pontem/keys "<your_mnemonic>"You should get something like that:

Navigate to extrinsics.
Choose authorMapping pallet under ‘submit the following extrinsic’.
Choose addAssociation(author_id) function.
Put your public key in author_id field.
Send transaction from your account.

After the transaction is executed you will lose 1 PONT coin as a reserved amount for mapping public key. If you don’t want to participate anymore, you can get your PONT back by calling the clearAssociation method of the same pallet.
Let’s check that the author mapped correctly:
Navigate to Chain State
Choose authorMapping pallet under ‘selected state query’.
Choose mappingWithDeposit(NimbusPrimitivesNimbusCryptoPublic):Option
Put your public key in AuthorId field.
Make call.
NOTE: You will see a deposit amount of 10,000,000,000. This is normal and still just 1 PONT
2.4 Add Nimbus key:
Replace with your mnemonic phrase from point 2.1.
cd ~/pontem-bootstrap/ && docker-compose run pontem-node pontem key insert --suri "<you_mnemonic>" --keystore-path /opt/pontem/keys --key-type nmbs
4. Become collator
Navigate to Pontem UI. Javascript
Execute there following code (remove pre-defined code before):
// Simple script to get candidate pool size
const candidatePool = await api.query.parachainStaking.candidatePool();
console.log(`Candidate pool size is: ${candidatePool.length}`);
Copy printed number after Candidate pool size is:.
4.1 Create your collator candidate:
Navigate to extrinsics.
Choose parachainStaking pallet.
Choose joinCandidates(bond, candidate_count) function.
Put amount to bond in the bond field. For example 11000000000000 is 1100 PONT (we recommend to put at least 1100 PONT).
Do not forget about 10 decimals! You need to add ten zeros to the amount. For example, to put 1100 PONT – enter 11000000000000
For candidate_count use value you copied in the previous step.
Send transaction from your account.
To become an active collator (produce blocks), you need at least 1000 PONT staked for your collator. You can stake it yourself or ask nominators to stake for you.

4.2 Сheck yourself in the list of colators and candidates.
There is two lists of collators:
selectedCandidates – contains active collators list (collators that are producing blocks).
candidatePool – contains the entire collator list (includes active and candidates).
Navigate to Chain State
Choose parachainStaking option from ‘selected state query’.
Choose selectedCandidates or candidatePool and press the ‘+’ button You will get a comma separated list of addresses.
5. Launch node
cd ~/pontem-bootstrap/ && docker-compose up -dCheck the logs with the following command:
cd ~/pontem-bootstrap/ && docker-compose logs -f --tail 10After the synchronization is complete, you should have the following logs

The current altitude can be viewed in the explorer.
6. Self Stake
Navigate to extrinsics.
Choose parachainStaking pallet.
Choose candidateBondMore(more) function.
Specify the additional amount to be bonded in the more field (do not forget about 10 decimals!).
Submit the transaction.