


Rent server on
1. Installing dependencies
Install Packages:
sudo apt update && sudo apt -y upgrade
sudo apt install -y git jq npm wget curl screen build-essential
Install nodejs:
sudo npm cache clean -f
sudo npm install -g n
sudo n 10.24.0
Test nodejs version – should be 10.24.0:
node --versionInstall Go:
sudo mkdir -p $HOME/go/cache
wget -c https://golang.org/dl/go1.15.5.linux-amd64.tar.gz
sudo tar -C /usr/local -xvzf go1.15.5.linux-amd64.tar.gz
echo 'export PATH=$PATH:/usr/local/go/bin' >> $HOME/.bashrc
echo 'export GO111MODULE=on' >> $HOME/.bashrc
echo 'export GOROOT=/usr/local/go' >> $HOME/.bashrc
echo 'export GOPATH=$HOME/go' >> $HOME/.bashrc
echo 'export GOCACHE=$HOME/go/cache' >> $HOME/.bashrc
echo 'export PATH=$GOPATH/bin:$GOROOT/bin:$PATH' >> $HOME/.bashrc
source $HOME/.bashrc
Test Go version – should be go1.15.5:
go version
Install yarn:
wget https://github.com/yarnpkg/yarn/releases/download/v1.22.10/yarn_1.22.10_all.deb
sudo dpkg -i yarn_1.22.10_all.deb
rm yarn_1.22.10_all.deb
Test Yarn version – should be 1.22.10:
yarn --version2. Install Validator node
cd $HOMEecho 'export XRP_APIs="https://xrpl.flare.network:443,https://xrpl-1.flare.network:443,https://xrplcluster.com"' >> $HOME/.bashrc
source $HOME/.bashrc
git clone https://gitlab.com/flarenetwork/flare3. Start Validator Node
screen -S flare
cd $HOME/flare
./coston.sh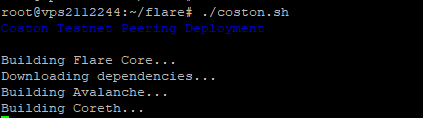
Press Ctrl+a then d to detach screen
4. Check node status
curl http://127.0.0.1:9650/ext/bc/C/rpcPicture below means synchronization is in process.
![]()
Empty response means node is synchronized
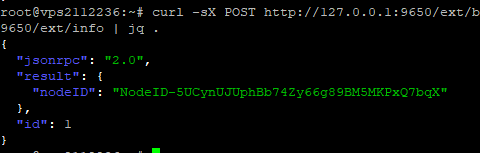
Now you can get your Node Address using the following command:
curl -sX POST http://127.0.0.1:9650/ext/bc/C/rpc --data '{ "jsonrpc": "2.0", "method": "info.getNodeID", "params":{}, "id": 1 }' -H "Content-Type: application/json" 127.0.0.1:9650/ext/info | jq .
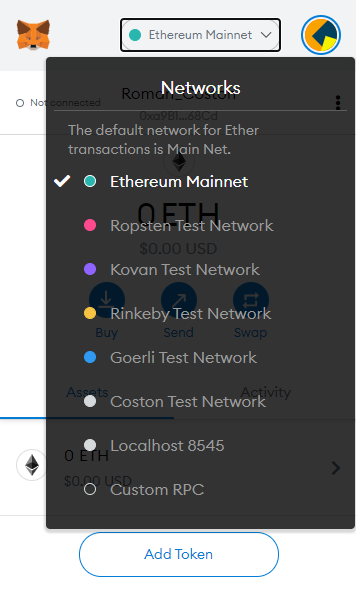
5. Configuring Metamask for Coston Testnet
Click MetaMask icon, click the “Ethereum Mainnet” dropdown menu. Select “Custom RPC”
Fill values:
- Network Name: Coston Test Network
- New RPC URL: https://coston-api.flare.network/ext/bc/C/rpc
- Chain ID: 16
- Symbol: СFLR
and click Save.
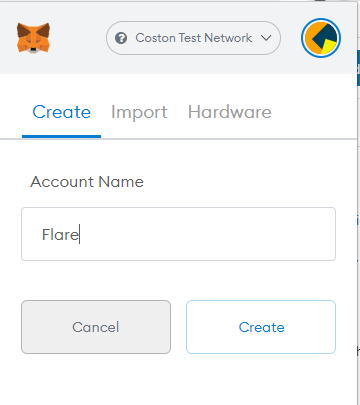
Create new address for Flare node. Click the circle in the top right corner of Metamask then click “Create Account”. Put account name and click Create
Save address and private key of created account.
6. Get tokens
Go to https://faucet.towolabs.com/
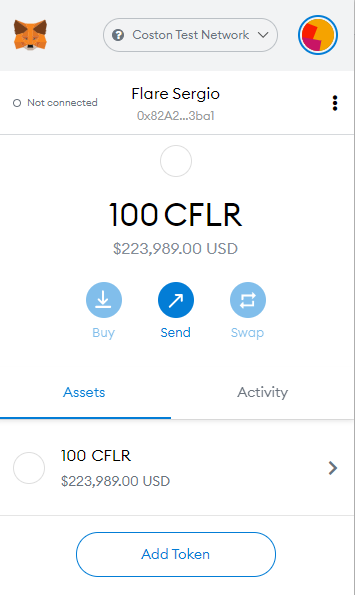
Put your account address and click Request CFLR.
Check tokens in MetaMask.
At this moment please stop guide execution here. Next steps are not required due to lack of info from the Flare Project.
7. Setup bridge
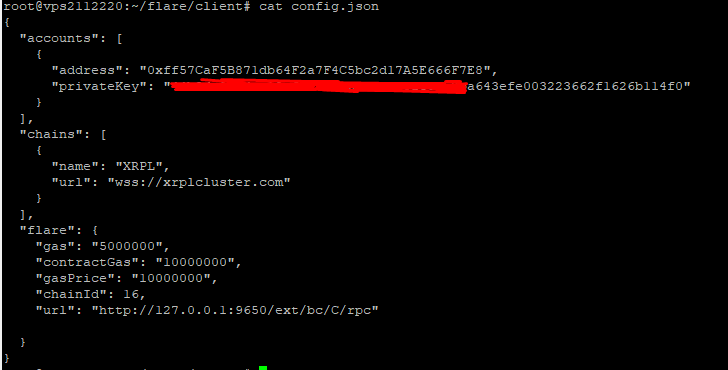
cd $HOME/flare/clientEdit config.json: remove both default addresses and add your address and private key. After editing it should looks like:
Execute yarn
yarnStart bridge
screen -S flare_bridge

./bridge.sh xrp
Press Ctrl+a then d to detach screen
8. Check your mining wins
cd $HOME/flare/clientTake text below, put your ip and wallet addresses. Save it into the file with get_mining_wins.js name.
const NODE_HOST = "<Node IP Address>";
const WALLET_ADDRESS = "<Wallet Address>";
const fs = require("fs");
const Web3 = require("web3");
const web3 = new Web3();
const ABI = `{"contractName":"StateConnector","abi":[{"inputs":[{"internalType":"address","name":"miner","type":"address"}],"name":"getClaimPeriodsMined","outputs":[{"internalType":"uint64","name":"numMined","type":"uint64"}],"stateMutability":"view","type":"function"}]}`;
const contract = JSON.parse(ABI); // Parse ABI into JSON
web3.setProvider(
new web3.providers.HttpProvider("http://" + NODE_HOST + ":9650/ext/bc/C/rpc")
); // Set web3 to use specified NODE_HOST
const stateConnector = new web3.eth.Contract(contract.abi);
const stateConnectorContract = "0x1000000000000000000000000000000000000001";
stateConnector.options.address = stateConnectorContract;
const config = {
gas: "5000000",
gas_price: "10000000",
};
stateConnector.methods
.getClaimPeriodsMined(WALLET_ADDRESS)
.call({
from: WALLET_ADDRESS,
gas: config.gas,
gasPrice: config.gasPrice,
})
.catch(processFailure)
.then((result) => {
console.log(result);
});
async function processFailure(error) {
console.error("Failure:", error);
setTimeout(() => {
return process.exit();
}, 2500);
}
Check your mining wins:
node get_mining_wins.js
Also you can check your transaction on https://flarescan.org/ using your wallet address.
9. Node Restart
If for some reason you need to restart your node, please use the procedure:
Connect to your detached screen:
screen -rd flarePress Ctrl+C to stop node.
Start existing node using:
./coston.sh --existing