


Rent server on
0. Creating a wallet
Go to step 4 and create a wallet according to the instructions, the address of your stash account is needed so that you can specify the correct node name.
One-line install script is available:
export NODENAME=
wget -O clover.sh https://api.nodes.guru/clover.sh
chmod +x clover.sh
./clover.sh
Enter your node name and wait for installing. Next continue step 4.
1. Preparing to install
Change NodesGuru | 5E4X6KjKvi to desired node name:
echo "export NODENAME='NodesGuru | 5E4X6KjKvi'" >> $HOME/.bashrc && source $HOME/.bashrc2. Install software
2.1. Install packages
cd $HOME
sudo apt update
sudo apt install make clang pkg-config libssl-dev build-essential git curl ntp -y < "/dev/null"
2.2. Install Rust
sudo curl https://sh.rustup.rs -sSf | sh -s -- -y
source $HOME/.cargo/env
rustup install nightly-2020-10-06
rustup target add wasm32-unknown-unknown --toolchain nightly-2020-10-06
2.3. Install Clover
git clone https://github.com/clover-network/clover.git
cd $HOME/clover
git reset --hard
git pull
rm $HOME/clover/Cargo.lock
chmod +x $HOME/clover/scripts/init.sh
$HOME/clover/scripts/init.sh
sed -i "s/ChainId: u64 = CHAIN_ID/ChainId: u64 = 1023/g" $HOME/clover/runtime/src/lib.rs
cargo +nightly-2020-10-06 build --release
Wait for compiling.
Output should be like:

3. Running
3.1. Creating a service
For creating a service just copy and paste command below:
echo "[Unit]
Description=Clover Node
After=network-online.target
[Service]
User=$USER
WorkingDirectory=$HOME/clover
ExecStart=$HOME/clover/target/release/clover --chain $HOME/clover/specs/clover-preview-iris.json --ws-external --rpc-cors all --name '$NODENAME' --port 30333 --ws-port 9944 --rpc-port 9933 --rpc-methods=Unsafe --validator --unsafe-ws-external --unsafe-rpc-external
Restart=always
RestartSec=3
LimitNOFILE=10000
[Install]
WantedBy=multi-user.target
" > $HOME/cloverd.service
3.2. Running a service
For running a service do the following:
sudo mv $HOME/cloverd.service /etc/systemd/system
sudo systemctl daemon-reload
sudo systemctl enable cloverd
sudo systemctl start cloverd
3.3 Check node status
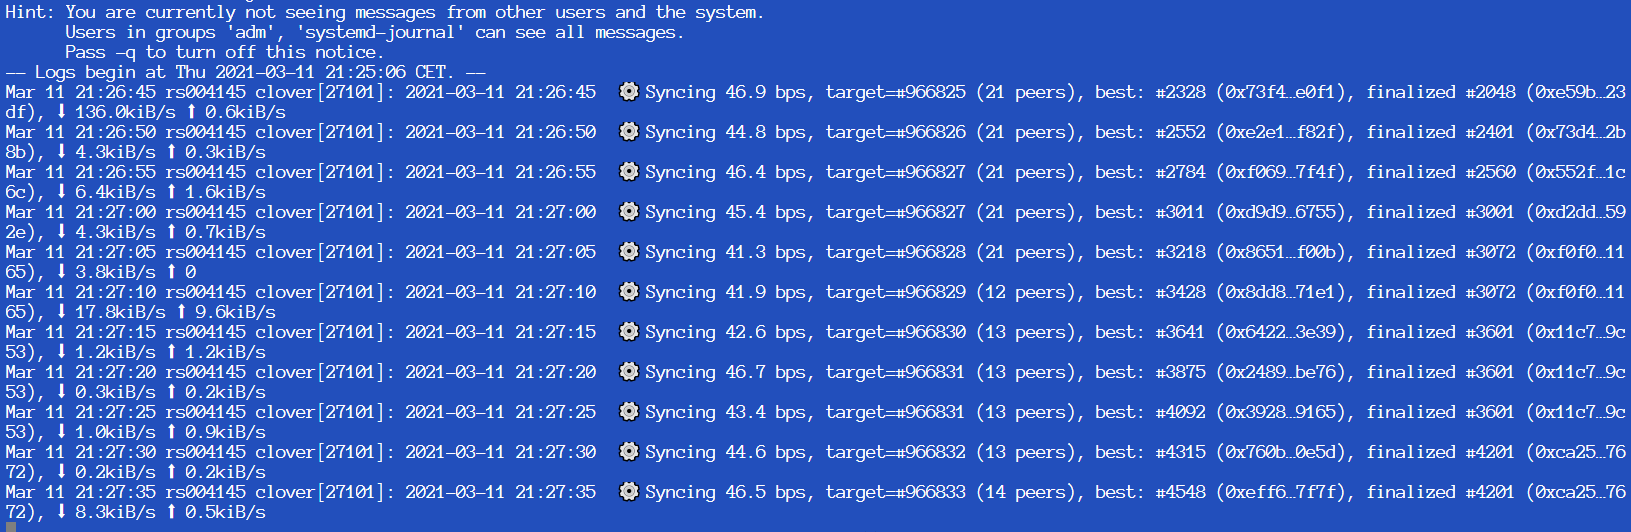
sudo systemctl status cloverdOutput should be like:

journalctl -u cloverd -fOutput should be like:
Now we can find our node in the explorer:

Congratz, your node is working!
4. Becoming a validator
4.1. Installing the Polkadot extension
Go to the extension webpage and download version for your browser:
4.2. Creating a accounts
We should create 2 accounts – Stash and Controller. On the Stash we will store our stake, which we will delegate to the Controller account. Follow the instructions to create accounts.
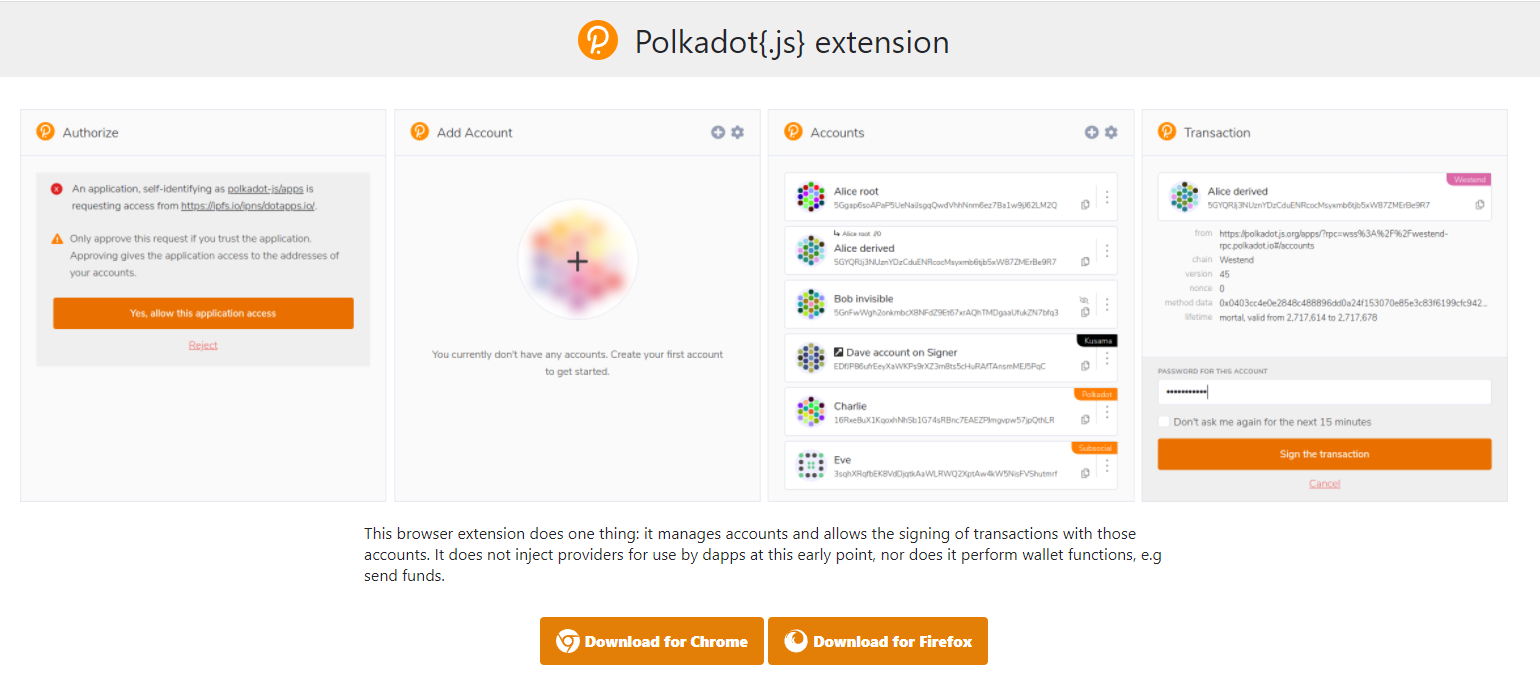
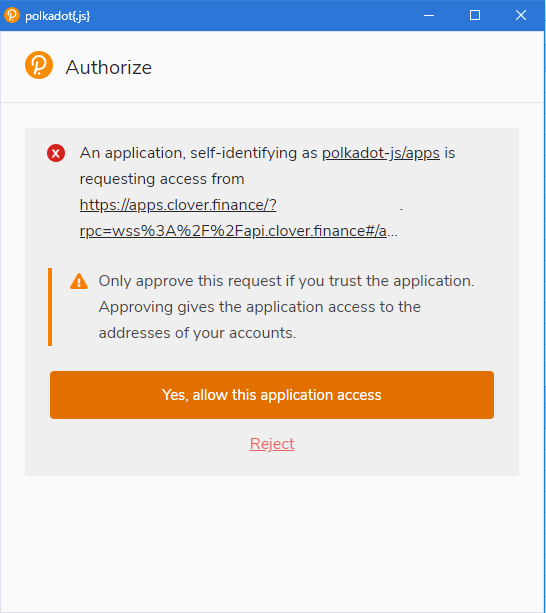
Firstly go to the app and allow access to the extension in the pop-up window:
Connect to the Clover testnet:


Click “Add account”:

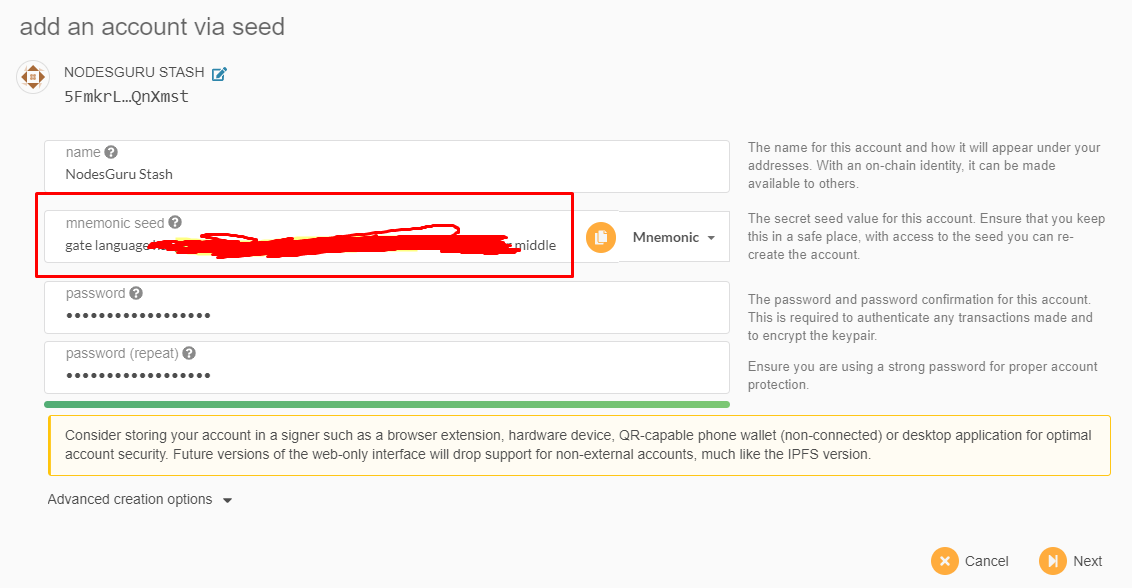
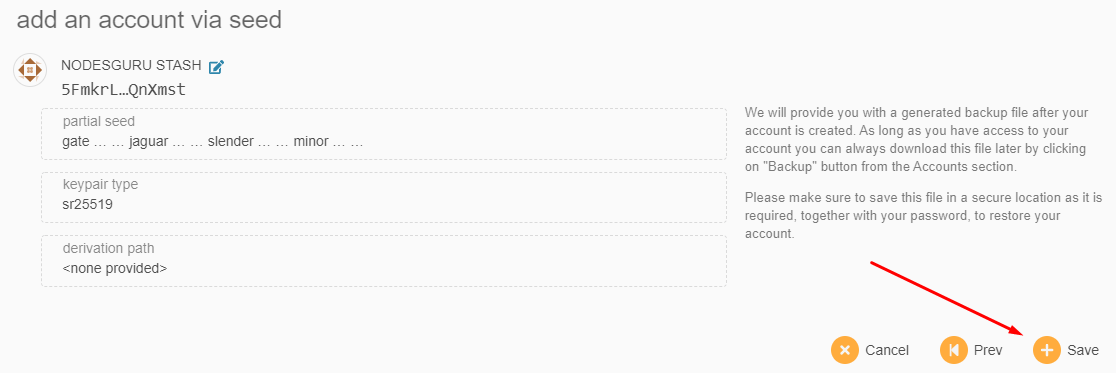
Now input wallet name (in our case it is NodesGuru Stash), save the mnemonic, input password and press “Next”:
Click “Save”, download json key file (downloading will start automatic):
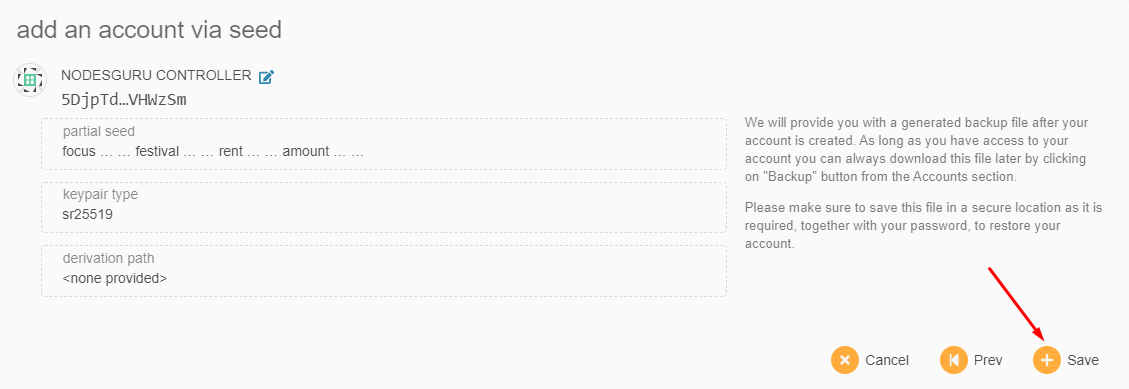
Repeat for the Controller account:

4.3. Faucet
Now we should see 2 of our accounts in the list of accounts. Now we need to go to faucet and request tokens, but first, copy the address of our Stash account by clicking on the icon:

Go to the faucet, click on “Twitter” link:
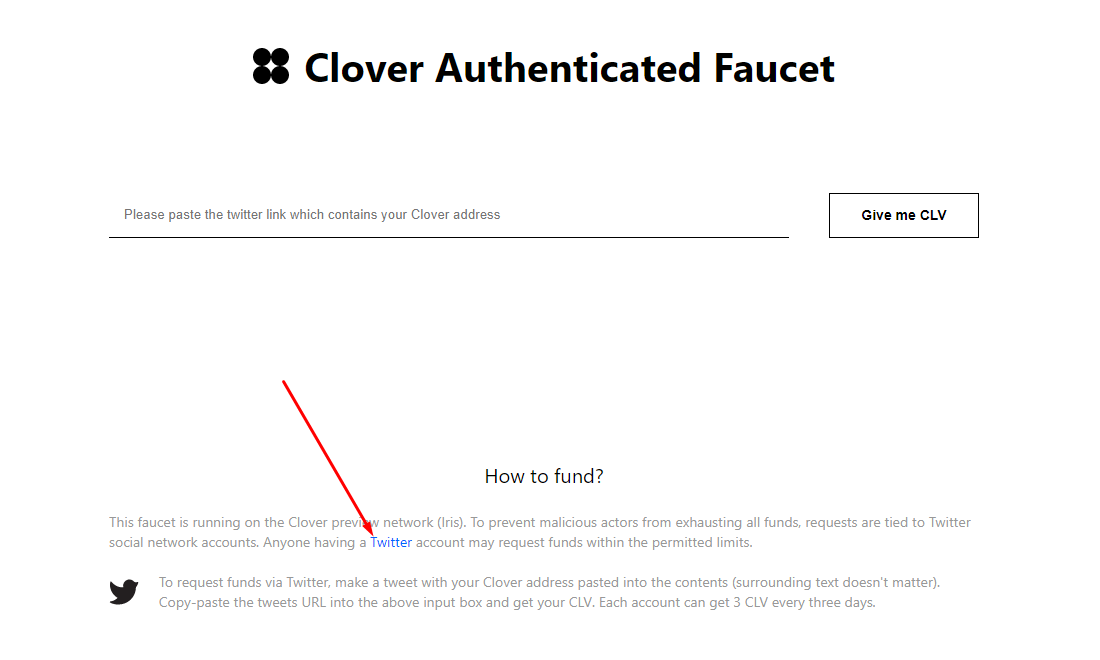
Next, we make a post on Twitter, replacing 0x000… with the address of our Stash wallet, as a result, you should get something like the following:
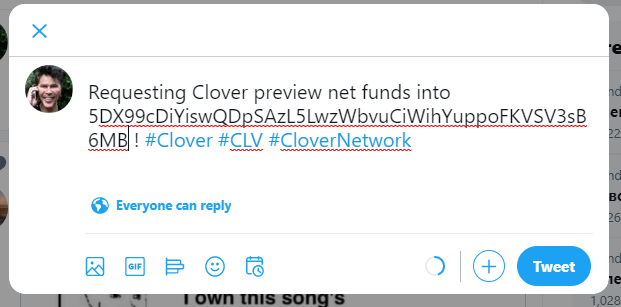
Copy the link:

Paste this into the faucet:
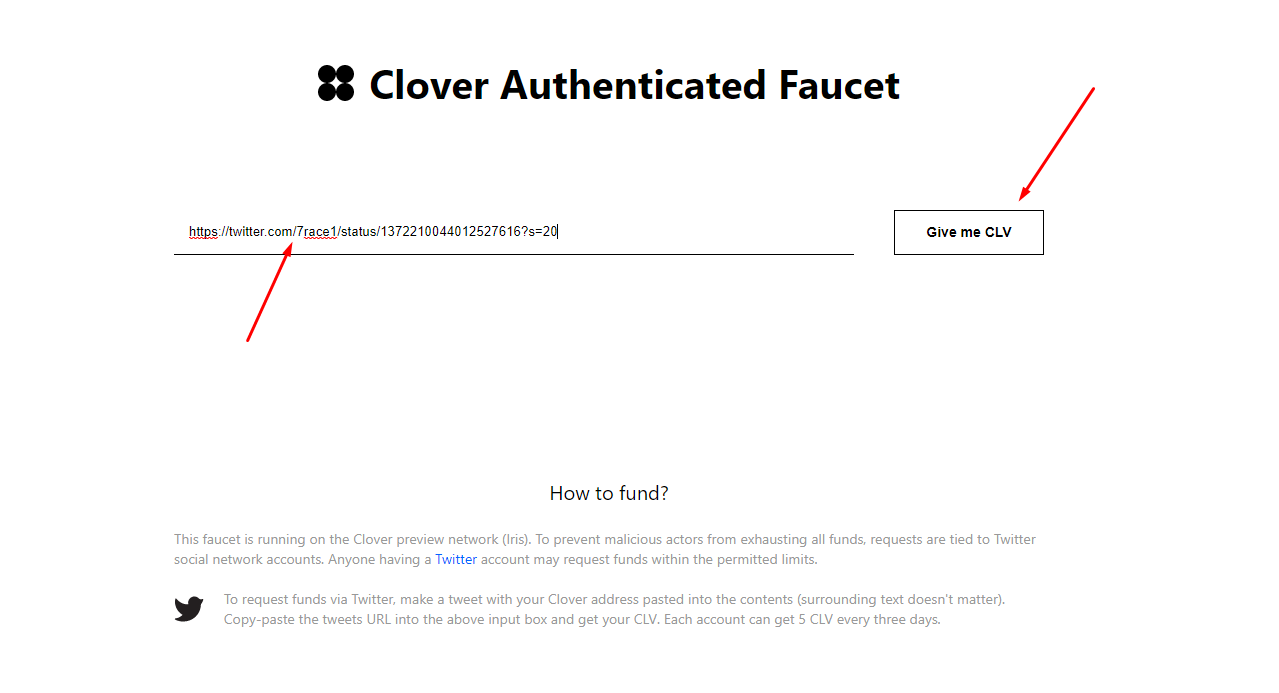
After some time, our balance should have 3 CLV:

Repeat that for the Controller account or send to the Controller few CLV tokens (0.5 will be enough).
4.4 Delegating
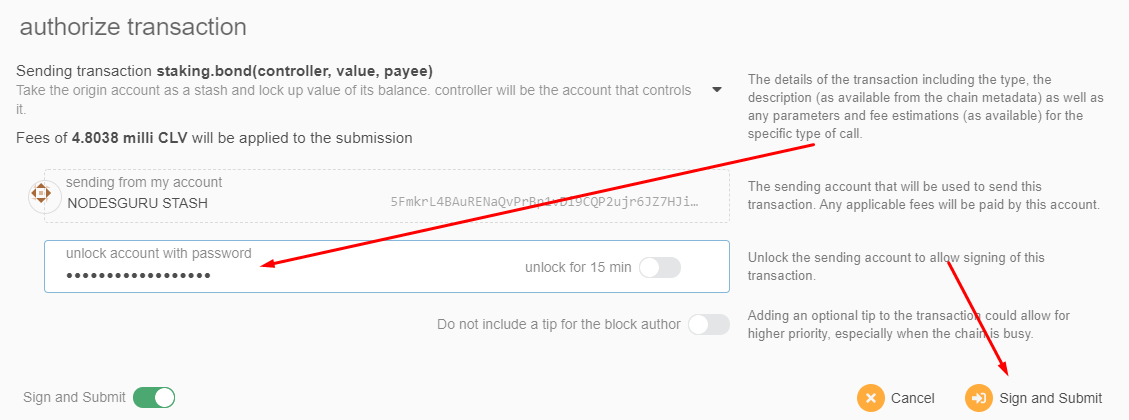
Next, we need to delegate tokens from the Stash account to our Controller account, for this we go to Network -> Staking and then Staking -> Account actions and click Stash in the right corner:


We select our stash account as the stash account, for the controller account we select the controller account, the value bonded will automatically be equal to the balance of the stash account (it is recommended to send not the full balance, but a few less):

Enter the password for your account (we set-up this in step 4.2):
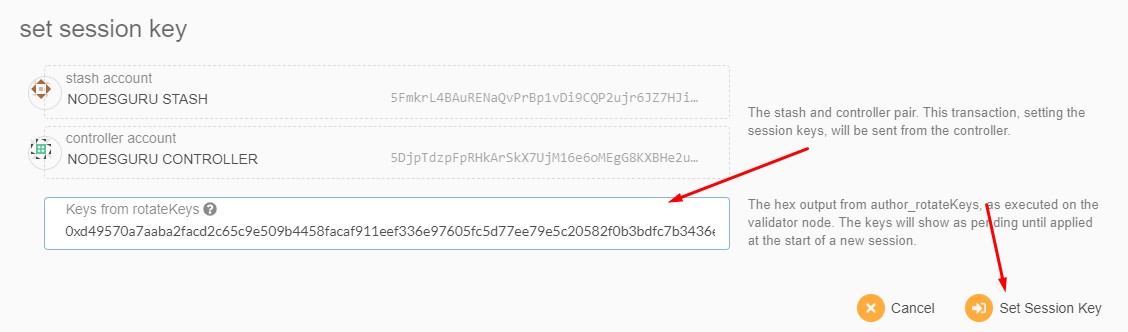
4.5. Set session key
Now we need to enter the session key for our account controller, for this, on the server with the node, run the following command:
apt install jq
curl -H "Content-Type: application/json" -d '{"id":1, "jsonrpc":"2.0", "method": "author_rotateKeys", "params":[]}' http://127.0.0.1:9933 | jq .result | sed 's/"//g'
Output should be like:

Copy this (for quick selection, you can use a double click with the left mouse button) by pressing Enter or by pressing the right mouse button.
Return to the app, press “Session key”:

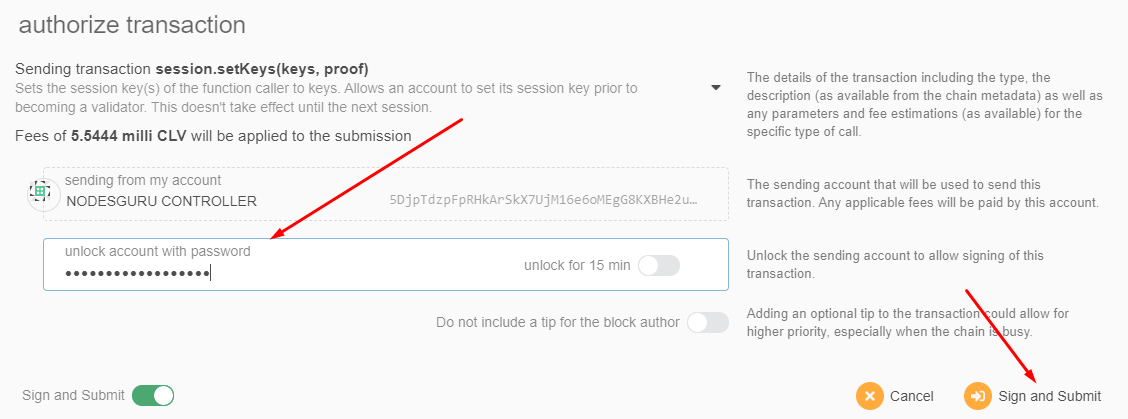
In the window that appears, enter the key that we copied and click Set Session Key:
Approve your transaction:
4.6. Connecting as validator
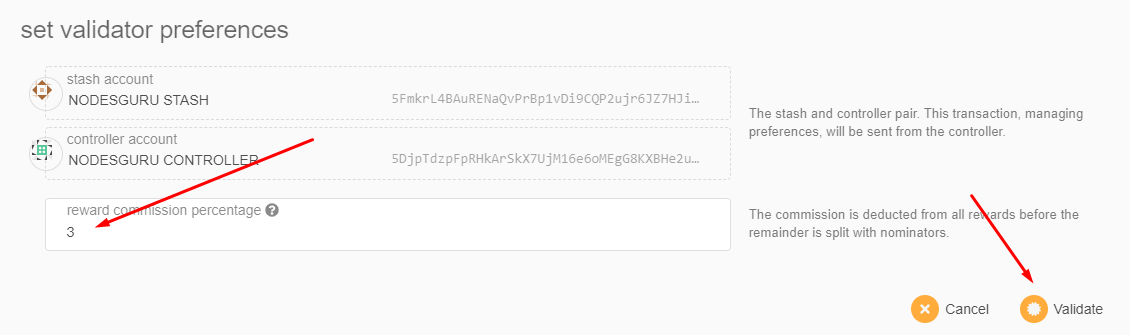
Click Validate:

Set fee rate (in our case it is 3), approve:
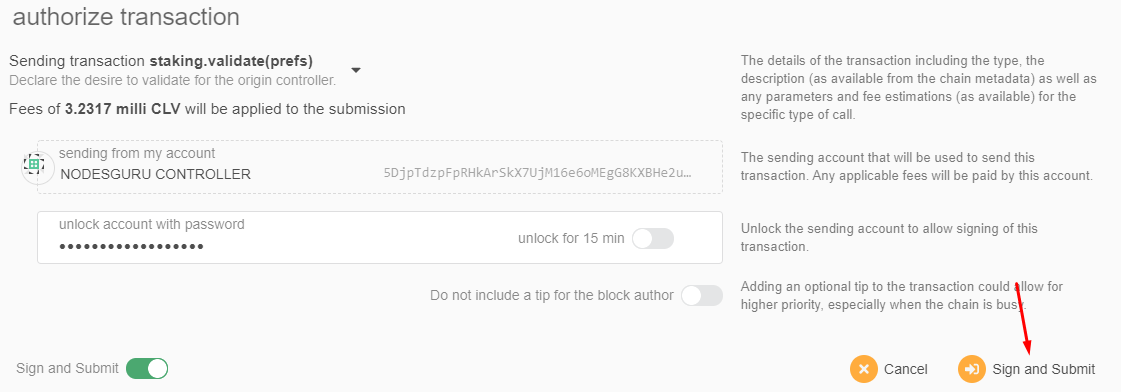
Approve your transaction:
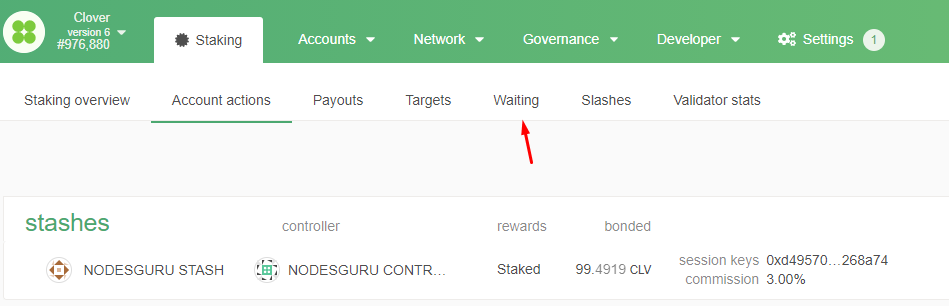
Now we should see like the following:

Go to the Waiting:
And find your account in the list:
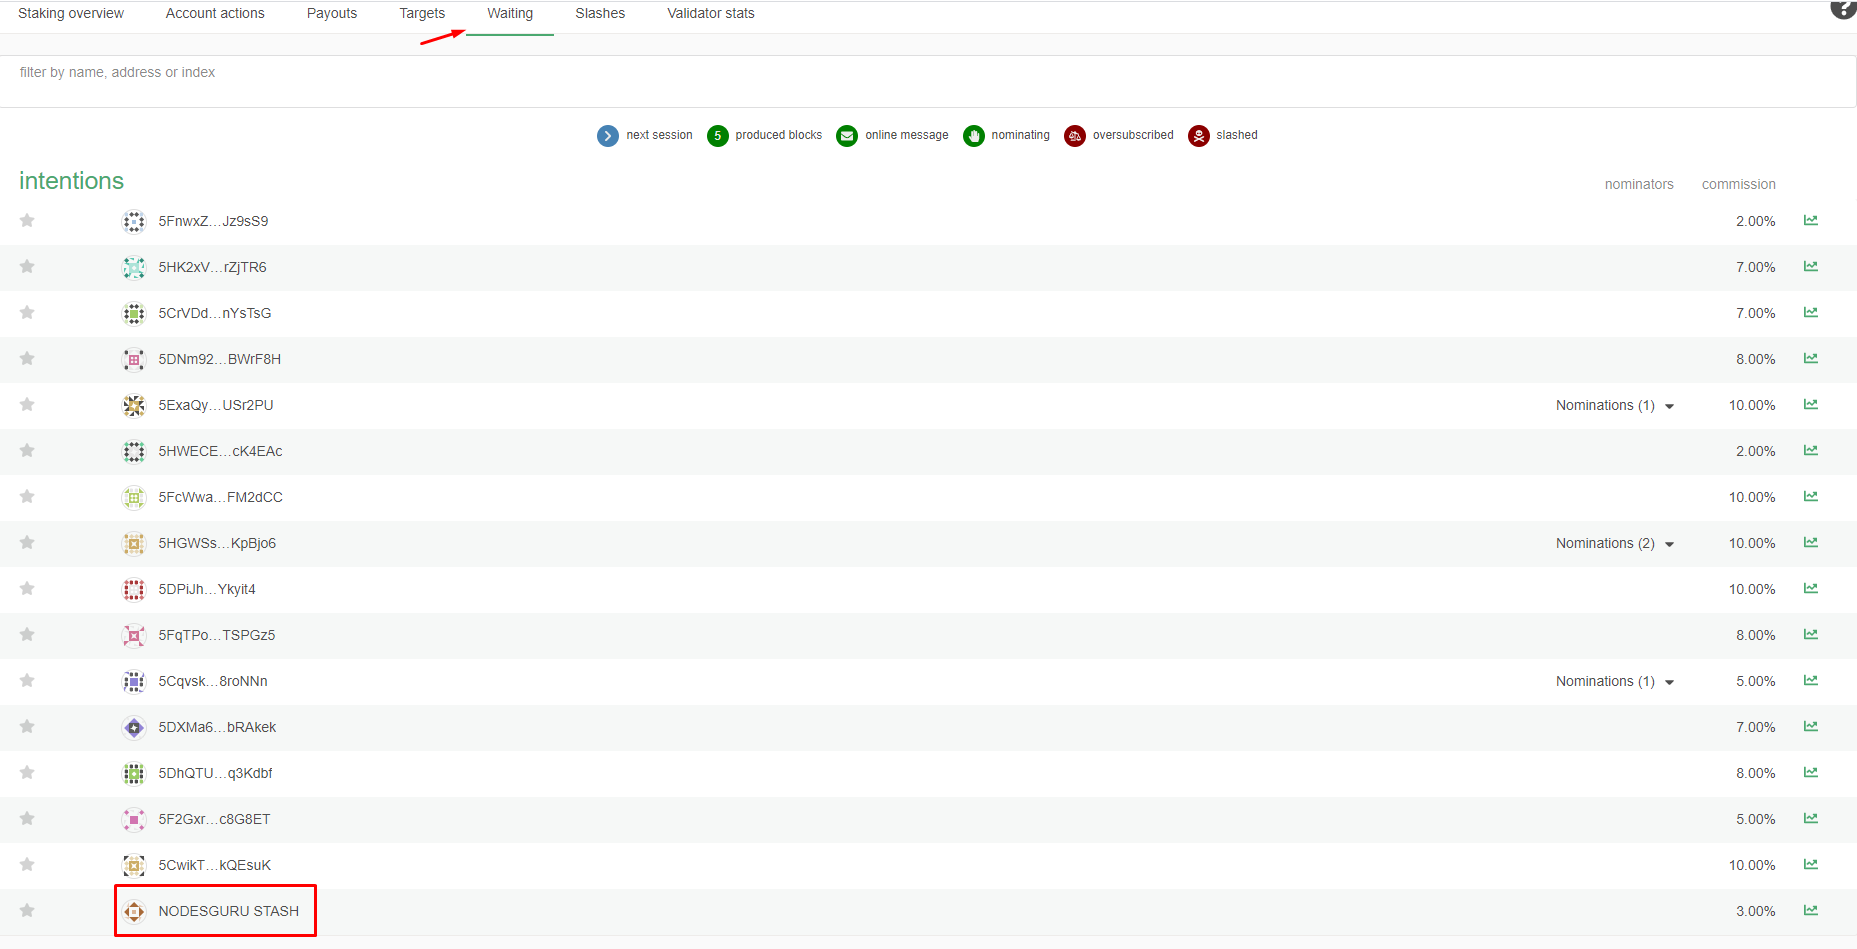
Congrats, now you are in waiting to be a validator! To become a full-fledged validator, you need to increase your stake. Good luck!
If our guide was helpful, you can support the project!