


Rent server on
One-line installation script is available:
wget -O plasm.sh https://api.nodes.guru/plasm.sh && chmod +x plasm.sh && ./plasm.shIn the end you should see the following:

When finished, proceed straight to Step 5.
1. Preparing to installation
apt update
apt install curl sudo wget git jq -y < "/dev/null"
2. Create new user
Change YOURSECUREPASS to password of your choice:
useradd -m plasm --shell /bin/bash
echo 'plasm:YOURSECUREPASS' | chpasswd
usermod -aG sudo plasm
su --login plasm
3. Install Plasm
wget https://github.com/staketechnologies/Plasm/releases/download/v1.9.0-dusty/plasm-1.9.0-ubuntu-x86_64.tar.gz
tar -xf plasm-1.9.0-ubuntu-x86_64.tar.gz
4. Create Plasm service
Replace NodesGuru with your node’s name:
echo "[Unit]
Description=Plasm Node
After=network-online.target
[Service]
User=plasm
WorkingDirectory=/home/plasm
ExecStart=/home/plasm/plasm --validator --rpc-cors all --name 'NodesGuru'
Restart=always
RestartSec=3
LimitNOFILE=10000
[Install]
WantedBy=multi-user.target
" > $HOME/plasmd.service
# after this command you should input your password for plasm user
sudo mv $HOME/plasmd.service /etc/systemd/system
sudo tee <<EOF >/dev/null /etc/systemd/journald.conf
Storage=persistent
EOF
sudo systemctl restart systemd-journald
sudo systemctl daemon-reload
sudo systemctl enable plasmd
sudo systemctl stop plasmd
sudo systemctl start plasmd
Check your node status by the following command:
service plasmd statusOutput should be like this:

Congratz, your node is working!
5. Preparing to keys setup
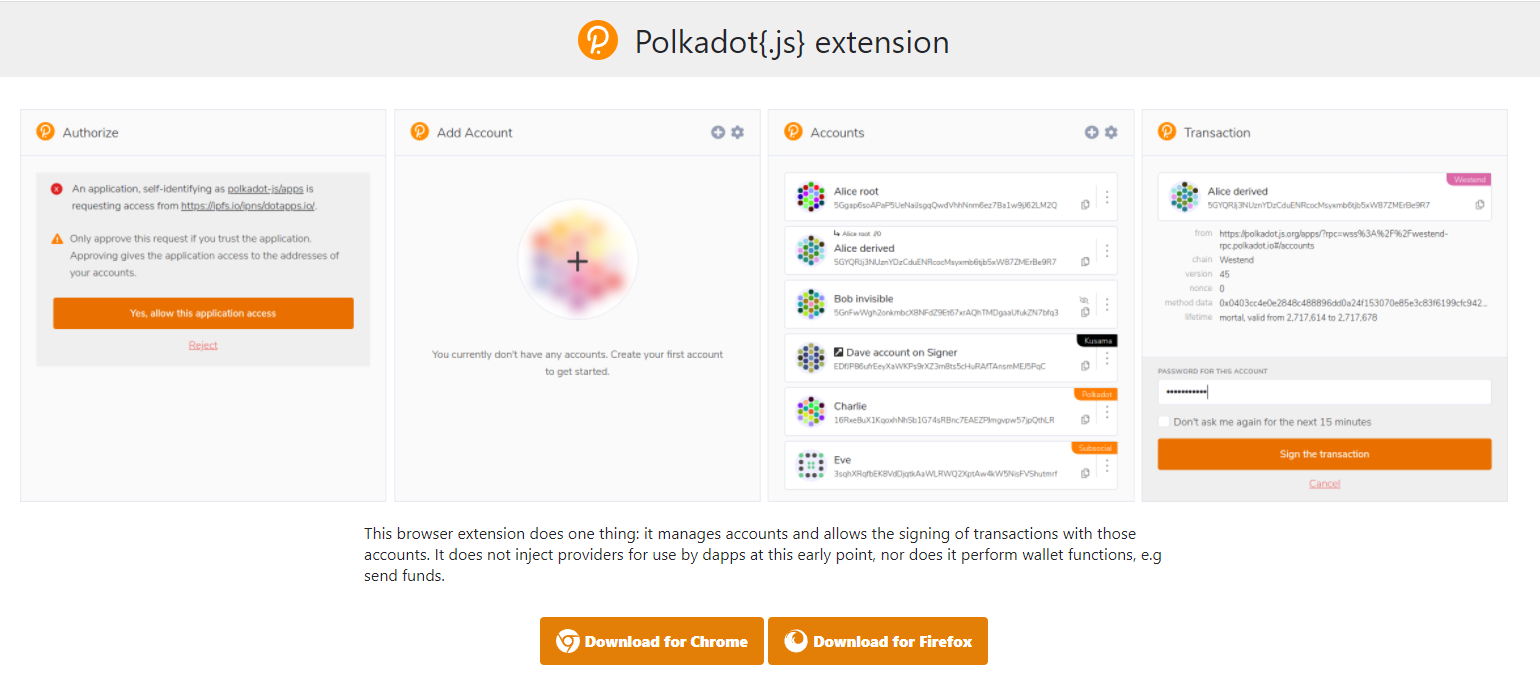
5.1. Install Polkadot
Go to the Polkadot extension webpage and download version for your browser:
5.2. Create a wallet
Go to the polkadot website, click Add account, next do the following:

Save your mnemonics:

Input wallet name and password:

Press Save to save json wallet file:

5.4. Faucet
Get the address by click on the wallet icon:

Go to the faucet, input wallet address:

After some time you should see the next pop-up:

Tokens should be on your wallet now:

5.5 Change types (optional)
Go here, search for key “Keys”, change value from SessionKeys to SessionKeys3, press Save. Should be like this:

6. Setup keys
Execute the following command:
curl -s -H "Content-Type: application/json" -d '{"id":1, "jsonrpc":"2.0", "method": "author_rotateKeys", "params":[]}' http://localhost:9933 | jq .result | sed 's/"//g'
Save the output, it is your session key.
Go to the app, input your session key to the keys field and 0x00 to the proof field , press Submit Transaction, submit.

If everything worked fine, you should see the following in your top right corner:

Congratz, all done!