


Rent server on
1. Install
Use our script for a quick installation:
wget -q -O porta.sh https://api.nodes.guru/porta.sh && chmod +x porta.sh && sudo /bin/bash porta.shSpecify your node name and wait for the installation.
You can check the logs with the command:
journalctl -u portad -f2. Creating a validator
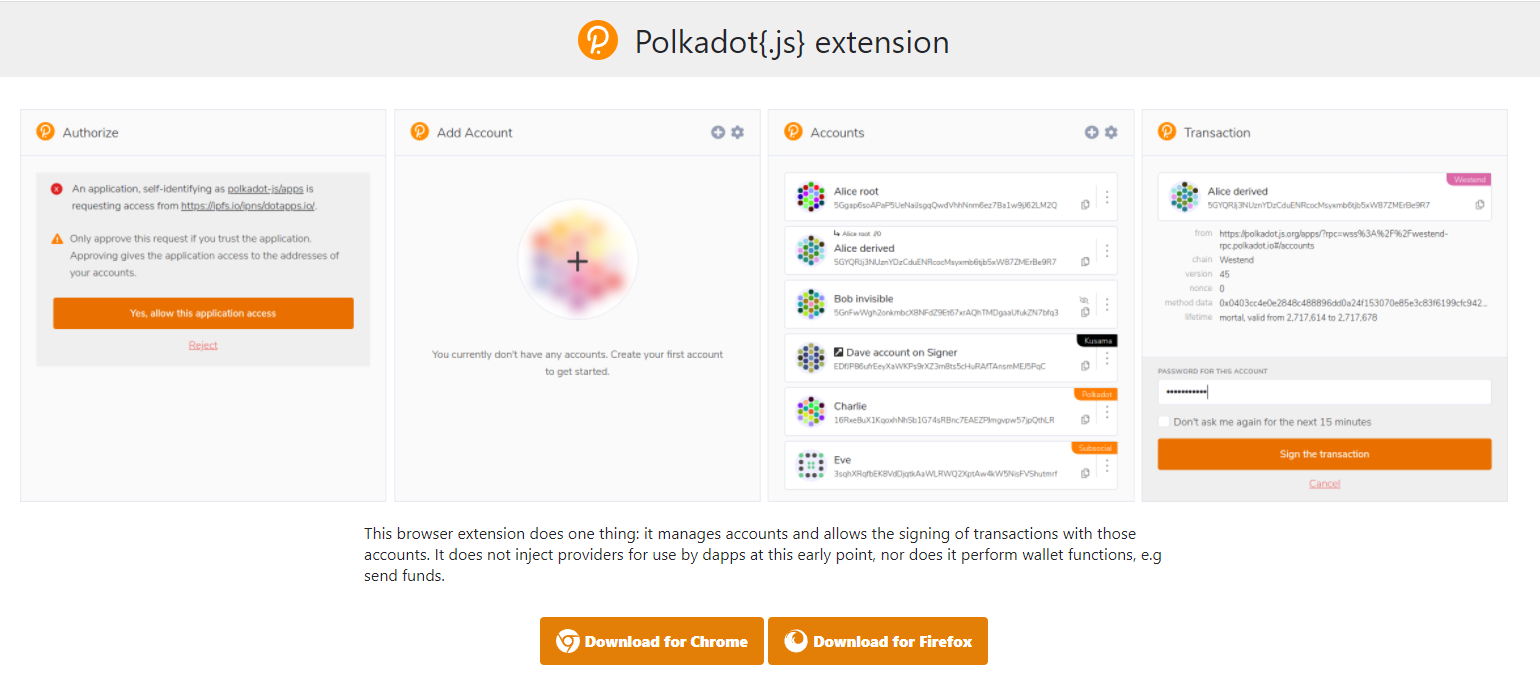
2.1. Install Polkadot extenstion
To install, go to the website and download the version for your browser:
2.2. Creating an account
For convenience, instead of Controller and Stash accounts, we will create one account named my-stash (you can set up stash/controller/reward accounts manually if you want).
First, go to the website and allow access to the extension in the pop-up window:
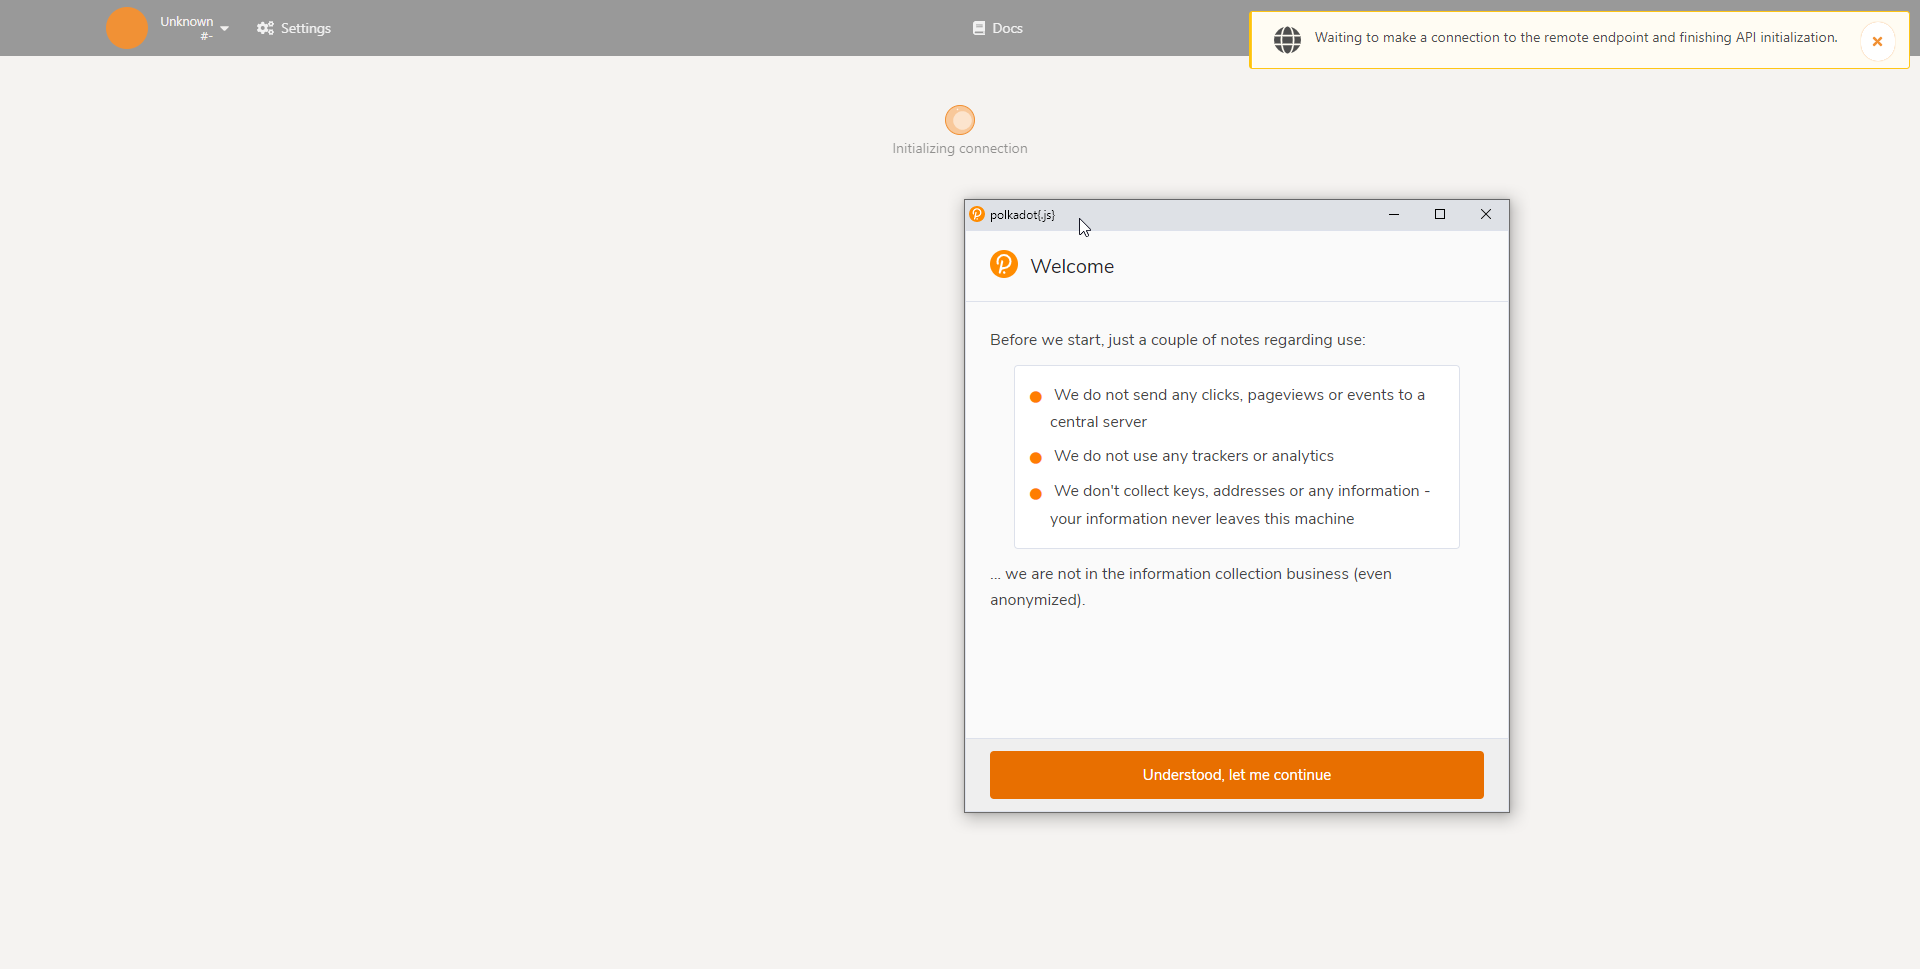
We need to create an account, to do this, click Add account:

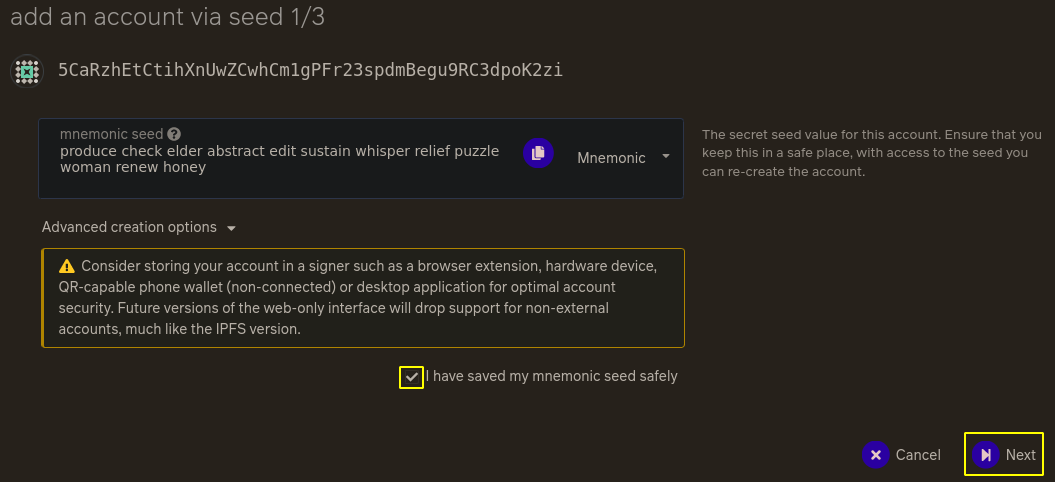
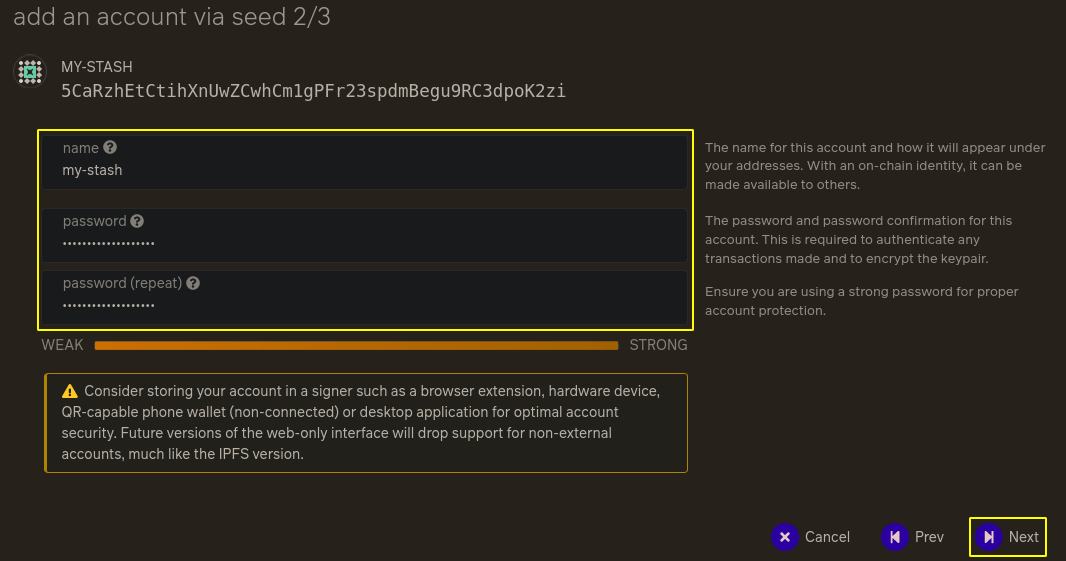
Then we enter the name of the wallet (in our case it is my-stash), save the mnemonic (produce check elder…), enter the password and click “Next”:
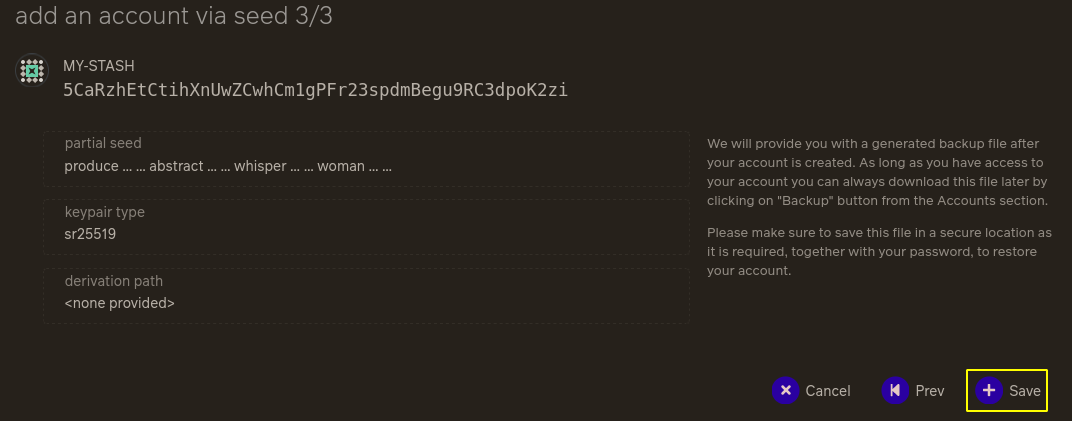
After that, confirm the creation of the account by clicking on Save and download the json file (the download will start automatically):
2.3. Requesting the funds
First, copy our account address by clicking on the wallet avatar:
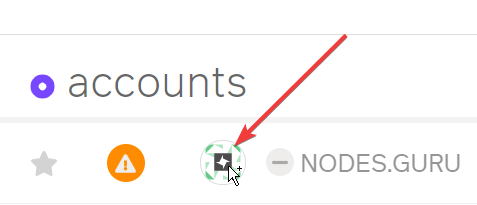
We should now see our account in the list of accounts.
Request tokens for your account through the faucet.
Check your wallet, the tokens should appear on the account:

2.4 Staking
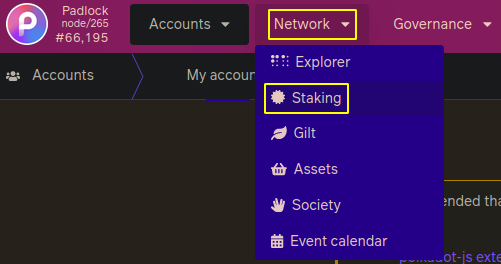
Now we need to staking our tokens, to do this, go to the tab Network -> Staking:
Now go to the Account actions tab and click on Stash:

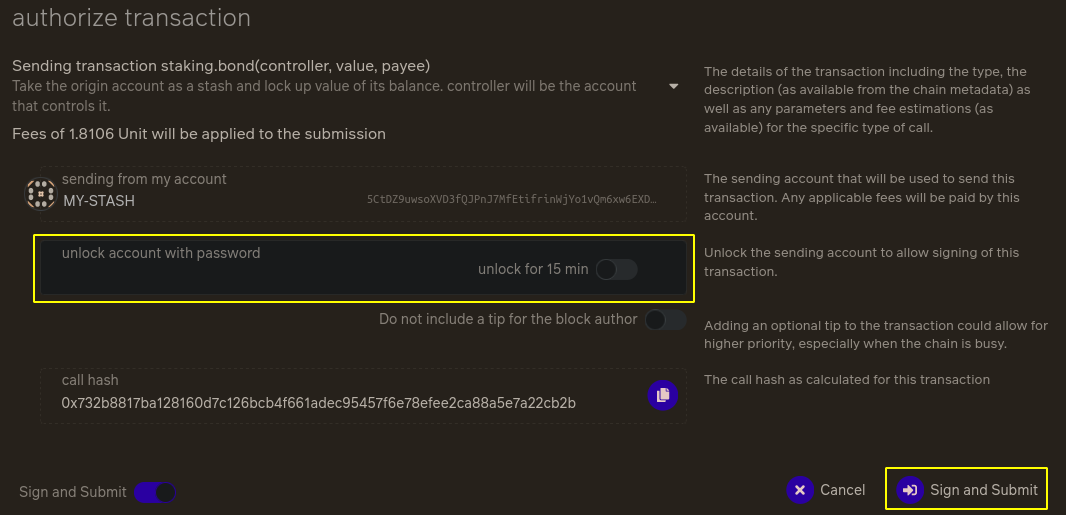
The window for bonding will open, the value bonded will be set automatically, it is not recommended to bond the entire balance:

Approve the tx:
2.5. Session key
Now we need to enter the session key for our account, to do this on the server with the node run the following command:
curl -H "Content-Type: application/json" -d '{"id":1, "jsonrpc":"2.0", "method": "author_rotateKeys", "params":[]}' http://127.0.0.1:9937 | jq .result | sed 's/"//g'The output should looks like the following:

Copy this value (you can use double left mouse click for quick selection) by pressing Enter or by right-clicking the mouse.
Then go back to the site and click Session key:

In the opened window enter the key that we copied and click Set Session Key, confirm the tx. If successful, you output should looks like the following:

2.6. Connecting the validator
Click Validate:

Set the desired amount of commission, confirm the transaction. Now you should see approximately the following:

Now you should see like the following:

Congratulations, you are now a validator candidate (you can see your account in the Waiting tab)! To become a validator you need to wait for the next era (you can check your validator status here).
To receive validation rewards, complete the form.
Good luck!