


Rent server on
1. BIOS Settings
First of all, we recommend to update your BIOS to the latest version.
- Enter BIOS. The method varies for different motherboards, and Google is always at your service about this.
- Disable Secure Boot. Go to Security -> Secure Boot, set it to Disabled.
- Enable SGX Extension. Go to Security -> SGX (This name may vary according to the different manufacturers), set it to Enabled.
- If you can only find SGX: Software Controlled option, you will have to run sgx-software-enable in Ubuntu. You can download and execute it with the following commands:
wget https://github.com/Phala-Network/sgx-tools/releases/download/0.1/sgx_enable
chmod +x sgx_enable
sudo ./sgx_enable- Use UEFI Boot. Go to Boot -> Boot Mode, and make sure it was set to UEFI.
- Save and reboot.
- You also need to make sure that Ubuntu is installed in UEFI mode. SGX is not guaranteed to work properly on the OS installed in legacy mode. In such case you may want to reinstall the system.
2. Install
mkdir phala
cd phala
wget https://codeload.github.com/Phala-Network/solo-mining-scripts/zip/main
unzip main
cd solo-mining-scripts-main
sudo chmod +x *.sh
sudo ./install.sh en
Check the SGX capability:
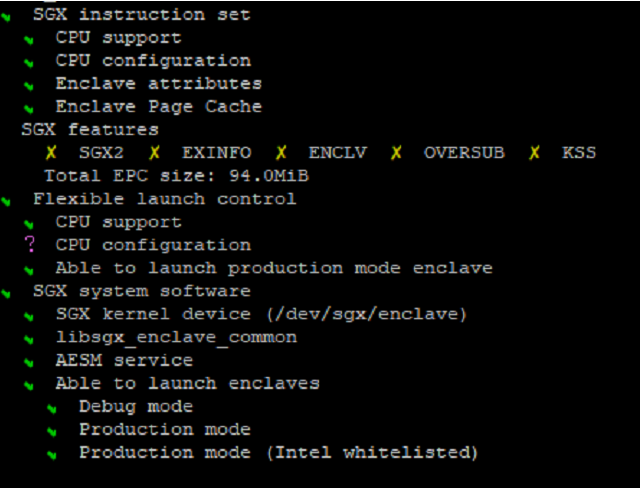
sudo phala sgx-testPlease pay attention to the following checks:
- SGX system software → Able to launch enclaves → Production Mode
- Flexible launch control → Able to launch production mode enclave
The report below would be a positive result:
3. Accounts
3.1. Create Stash Account
- Prerequisite: Install polkadot{.js} extension to your browser
- Go to https://poc3.phala.network/polkadotjs
- Click Allow in polkadot{.js} extension
 Go to Accounts, click Add Account
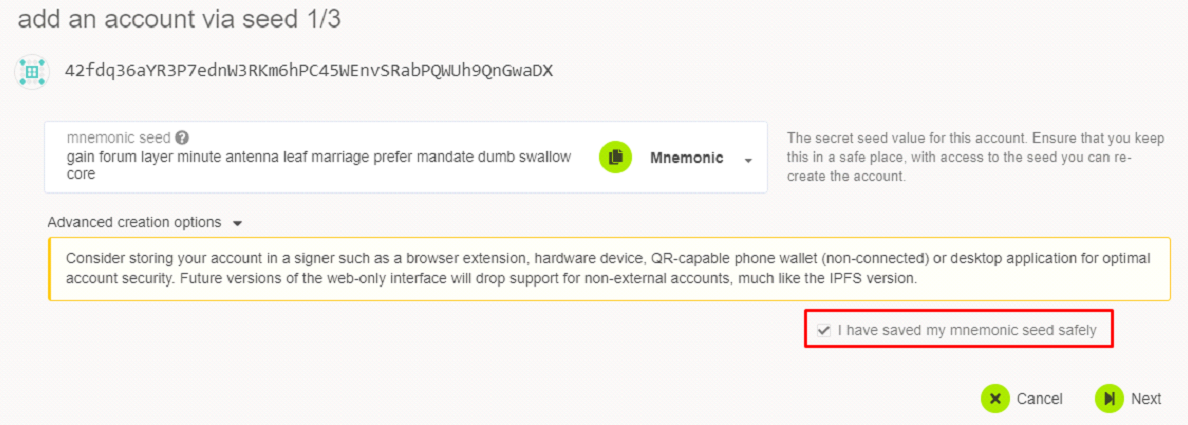
 Save mnemonic seed in a safe place, mark ‘I have saved my mnemonic seed safely’:
 Click next:

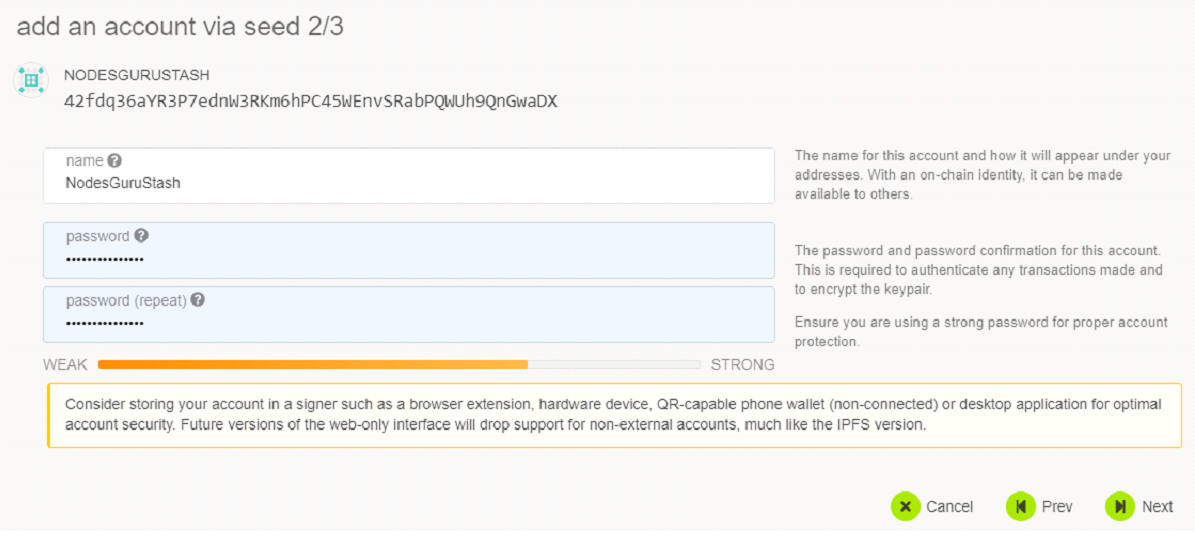
- Fill required values – it’s recommended that name contains ‘Stash’
- Click Next
- Click Save


3.2. Create Controller Account
Repeat all actions from the previous step to create Controller account:

3.3. Obtaining tPHA
Please be aware that you will need to burn ERC20 PHA to obtain tPHA on testnet Vendetta. So you need to buy/swap these tokens before we can go further. You need only 0.1 PHA.
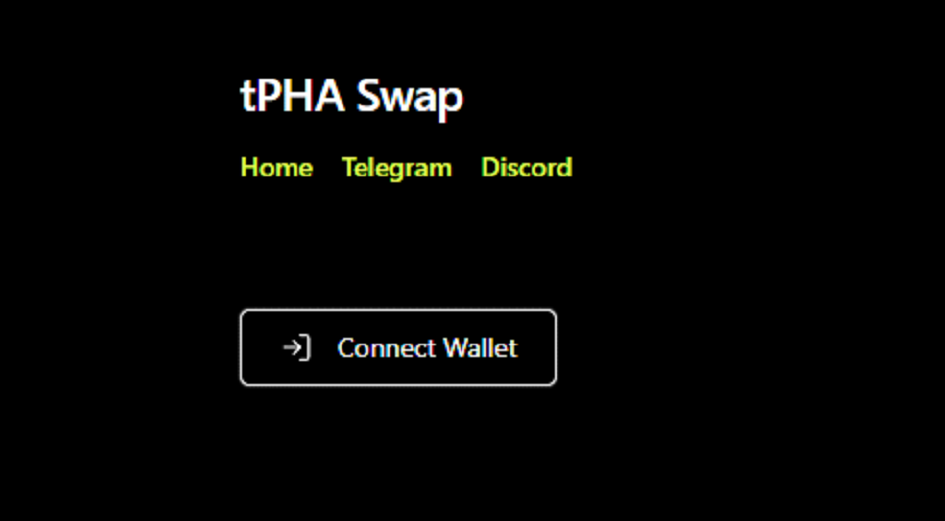
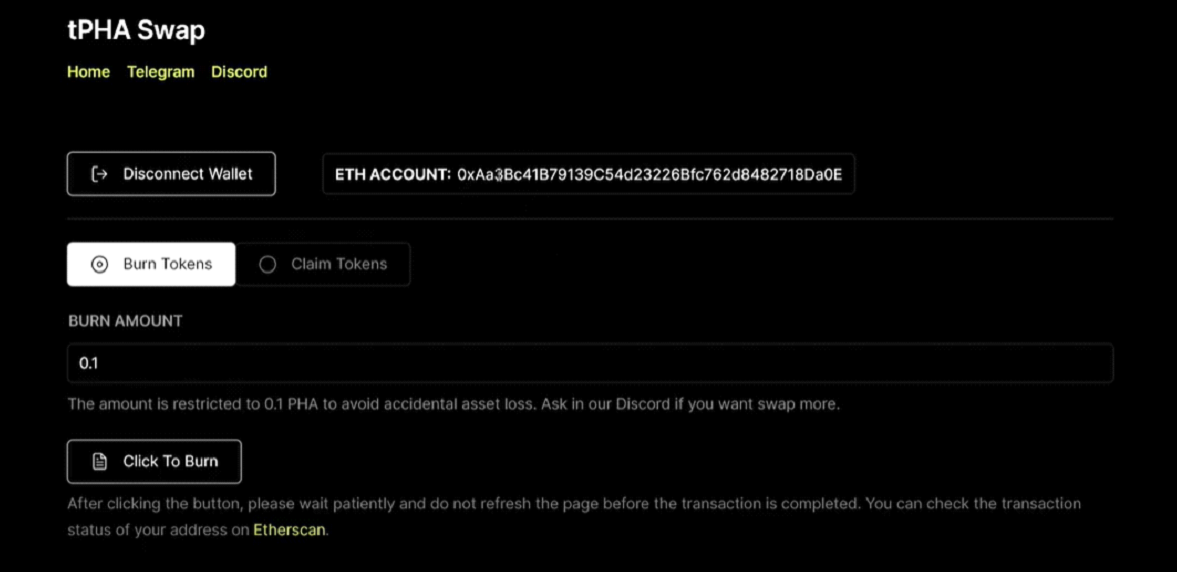
- Go to https://poc3-swap.phala.network

- Click Connect Wallet and it will be connected to your MetaMask Wallet

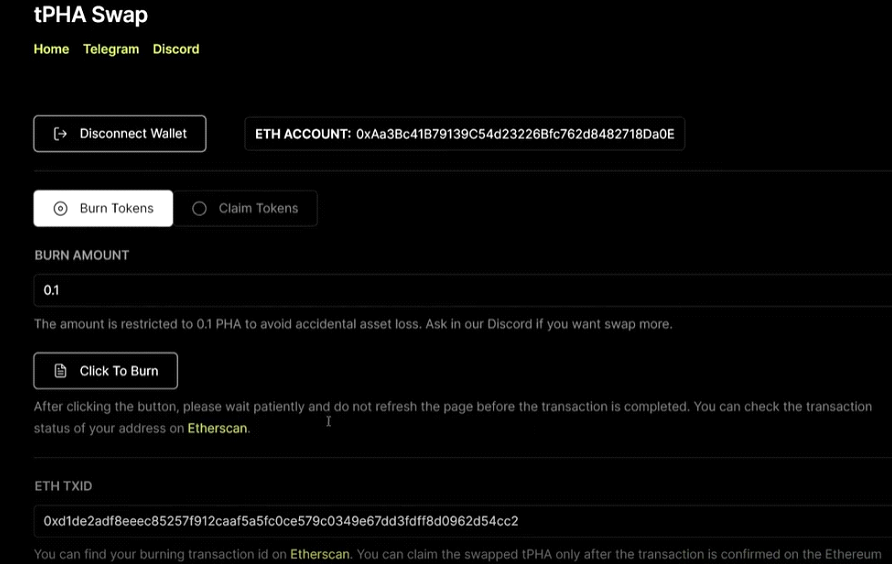
- Click ‘Click To Burn’. The Metamask window will be opened

- Click Confirm in your metamask
- Wait a little bit

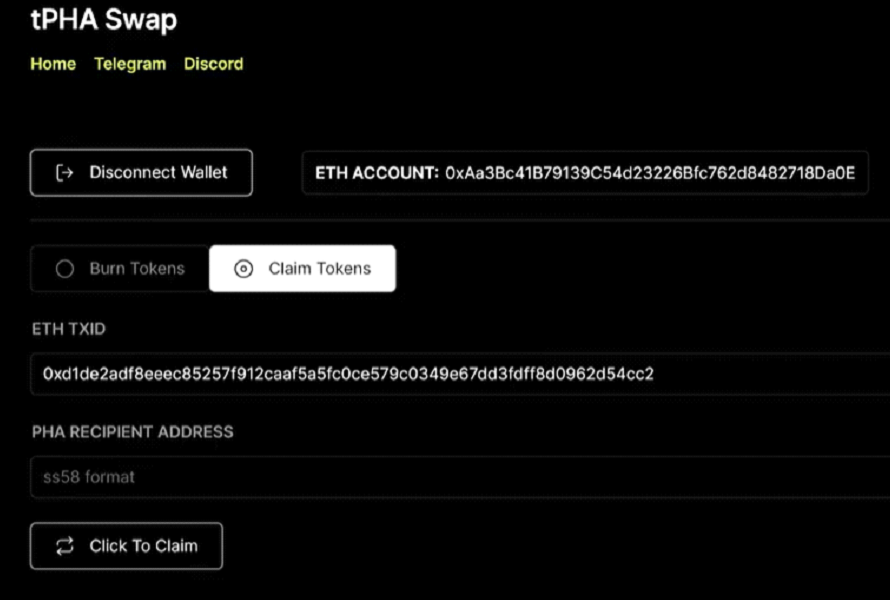
- Select Claim Tokens

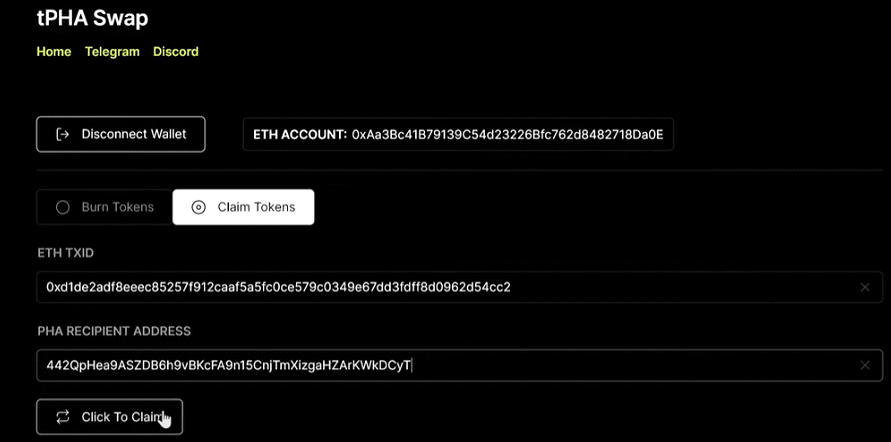
- Paste your Phala Stash Account address into PHA Recipient Address and click ‘Click To Claim’

- Sign transaction in MetaMask
- Wait for operation success

- Return to https://poc3.phala.network/#/accounts to check your test tokens

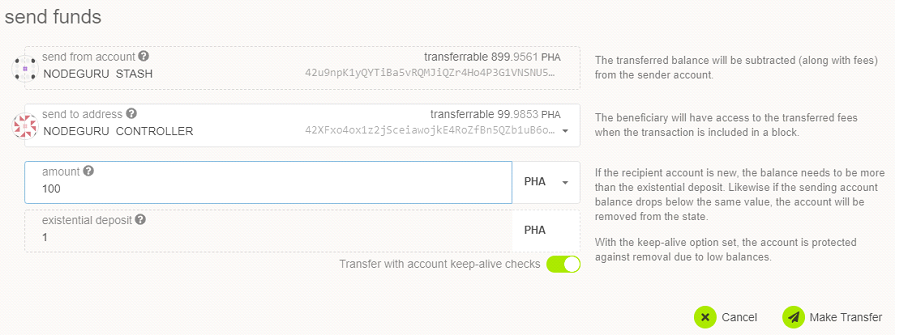
- Send tPHA to Controller account
- Click send near Stash account

- Fill the values accordingly to screenshot below and click Make Transfer

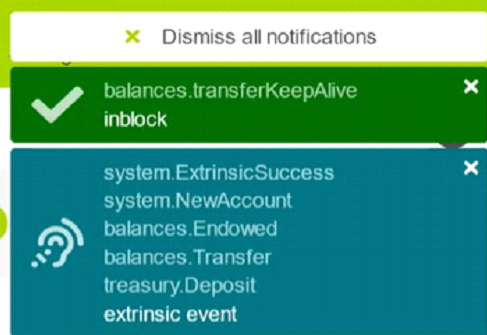
- Click Sign and Submit and wait while operation is ended


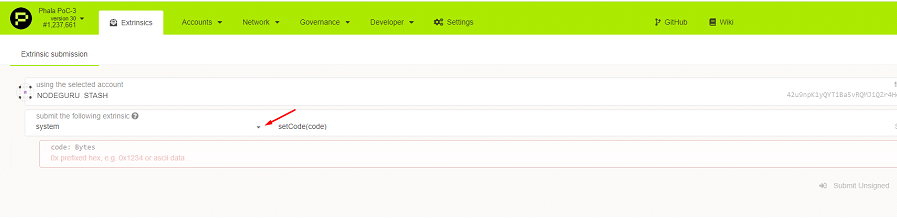
3.4. Set relationship between accounts
- Go to Developer → Extrinsics

- Click as shown below

- Select phala module and click as shown below

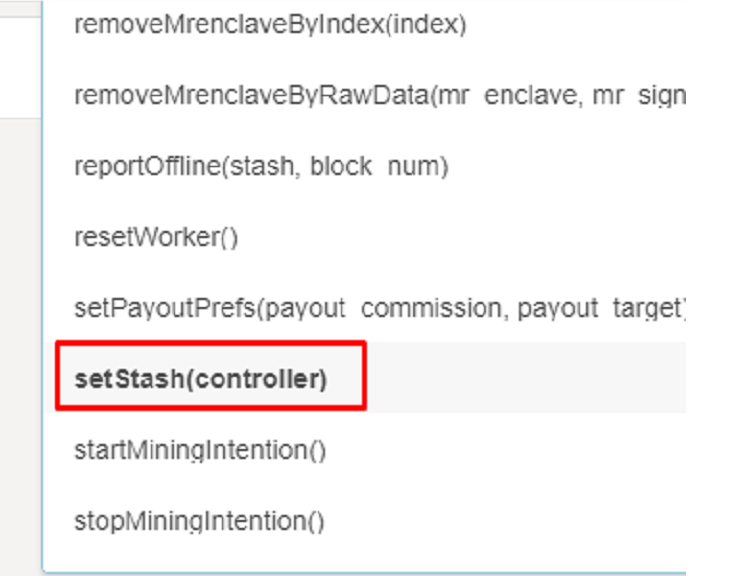
- Select setStash(controller)

- Select Controller account

- Click Submit Transaction, approve it and wait for it finished.


3.5. Set Payout preferences
Go to Developer → Extrinsics. Configure as shown and Submit transaction:

4. Preparing to mining
Start Phala:
sudo phala install initFill in reauired fields – take controller mnemonic from step 5:
sudo phala start node
Wait for node sync. It could takes several hours. Next steps:
sudo phala start pruntime
sudo phala start phost
Check status:
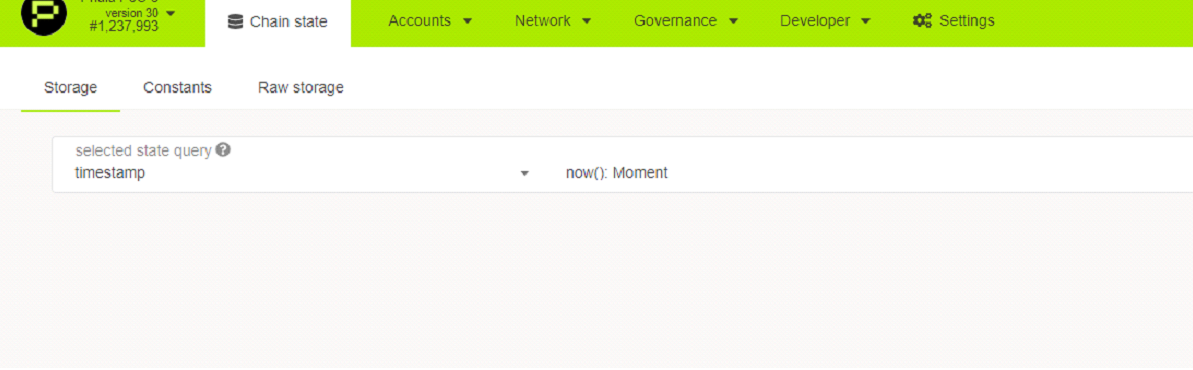
sudo phala statusAll three containers should be running. Now we should check worker state, so go to the explorer (Developer/Chain state):
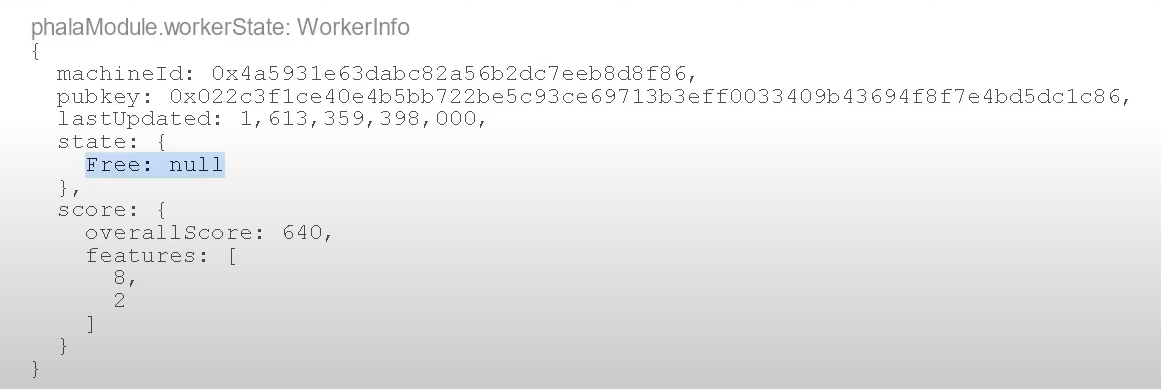
Select phalaModule/workerState/Stash account: Click green plus and you can see your miner status. Screen like below means that everything is ok.
5. Start mining
Go to the explorer, Developer/Extrinsics. Configure like shown below:

Submit transaction:
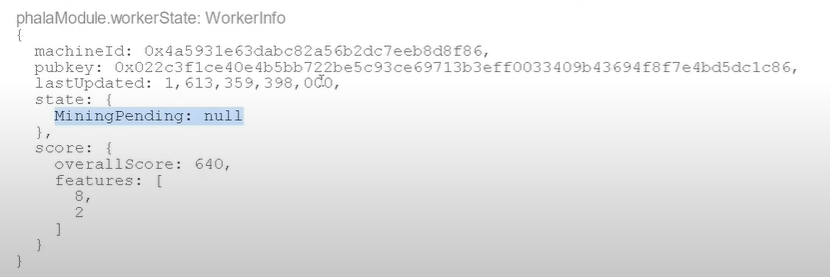
5.1 Verify mining
Some time later repeat step above, now you should see the following:
