


Rent server on
1. Install
Use our script for a quick installation:
wget -q -O bitcountry.sh https://api.nodes.guru/bitcountry.sh && chmod +x bitcountry.sh && sudo /bin/bash bitcountry.shSpecify your node name and wait for the installation.
After installation you should appear in the explorer.

You can check the logs with the command:
journalctl -u bitcountryd -f2. Creating a validator
2.1. Install Polkadot extenstion
To install, go to the website and download the version for your browser:
2.2. Creating Accounts
For convenience, instead of Controller and Stash accounts, we will create one account named wallet.
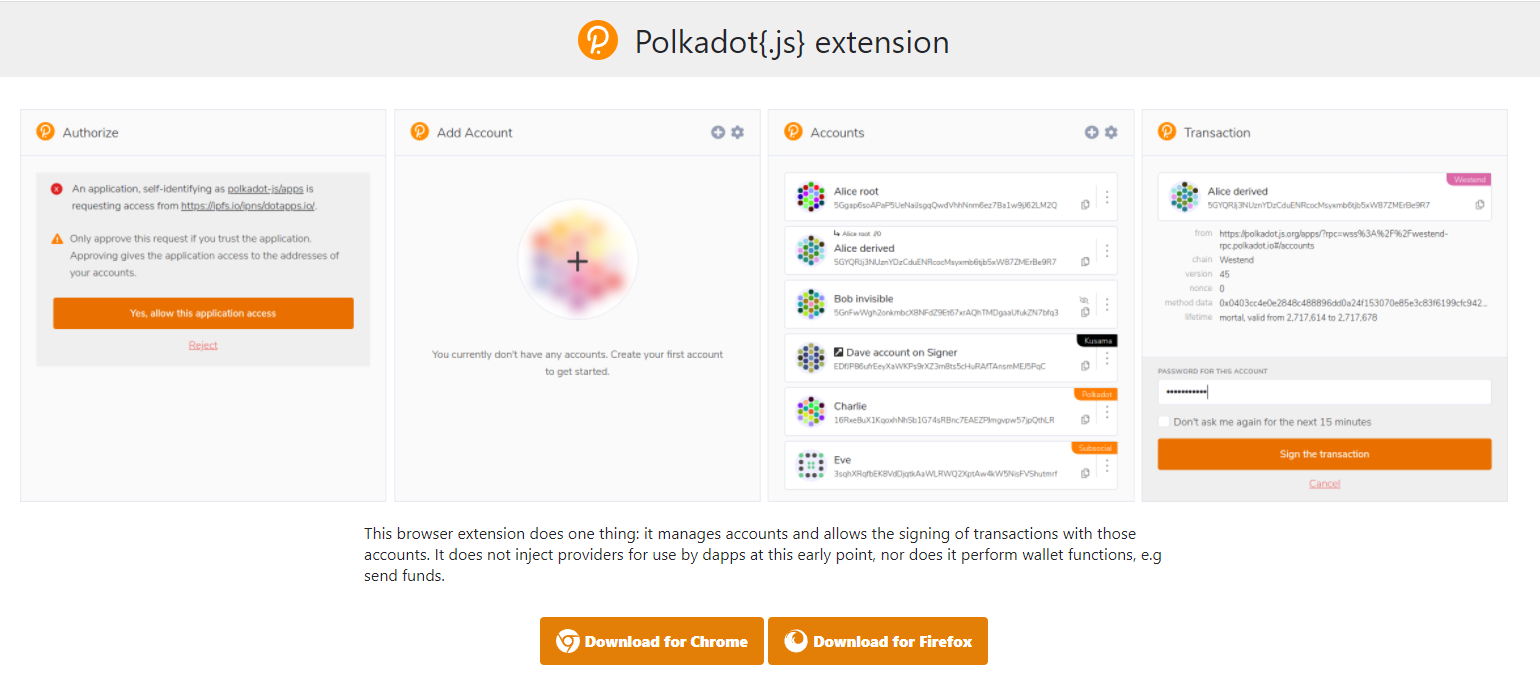
First, go to the site and allow access to the extension in the pop-up window:
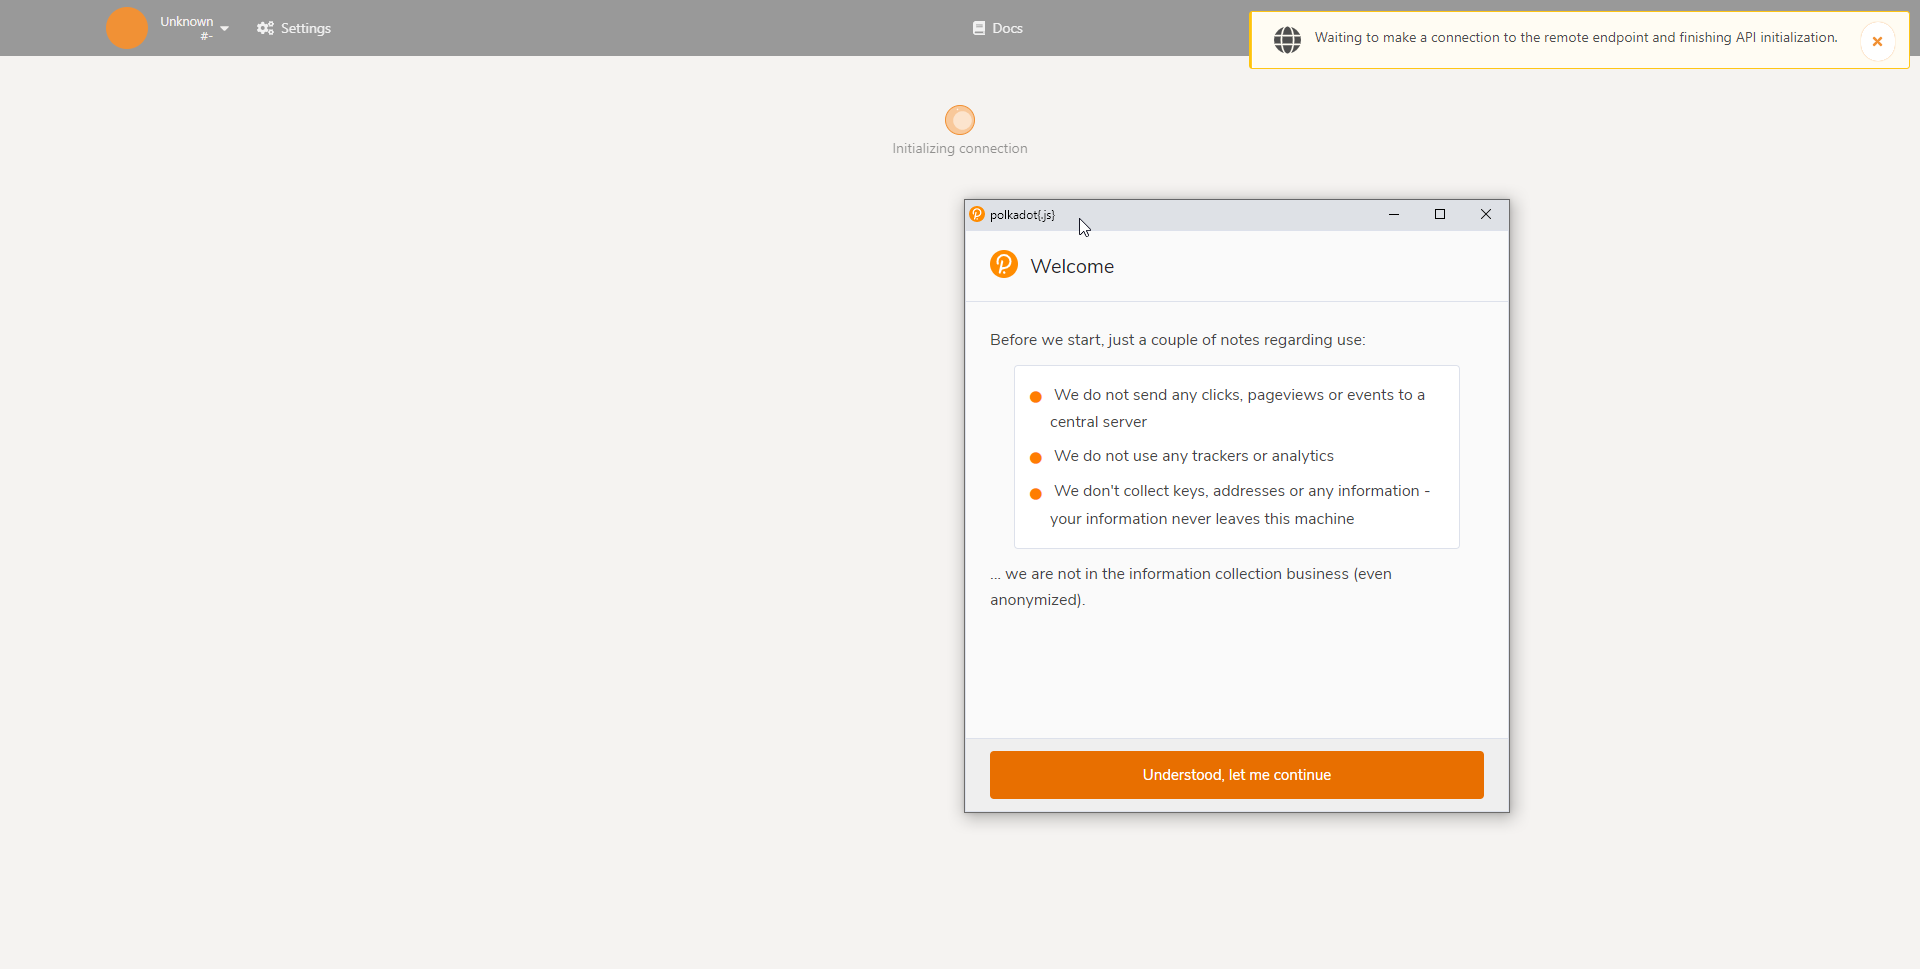
We need to create an account, to do this, click Add account:

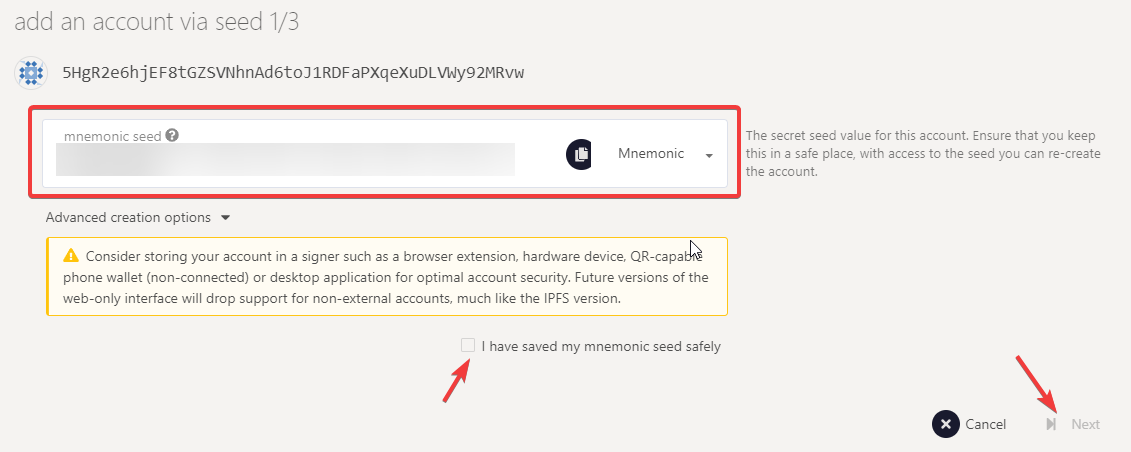
Then we enter the name of the wallet (in our case it is wallet), save the mnemonic (highlighted in the screenshot), enter the password and click “Next”:

After that, confirm the creation of the account by clicking on Save and download the json file (the download will start automatically):

2.3. Faucet
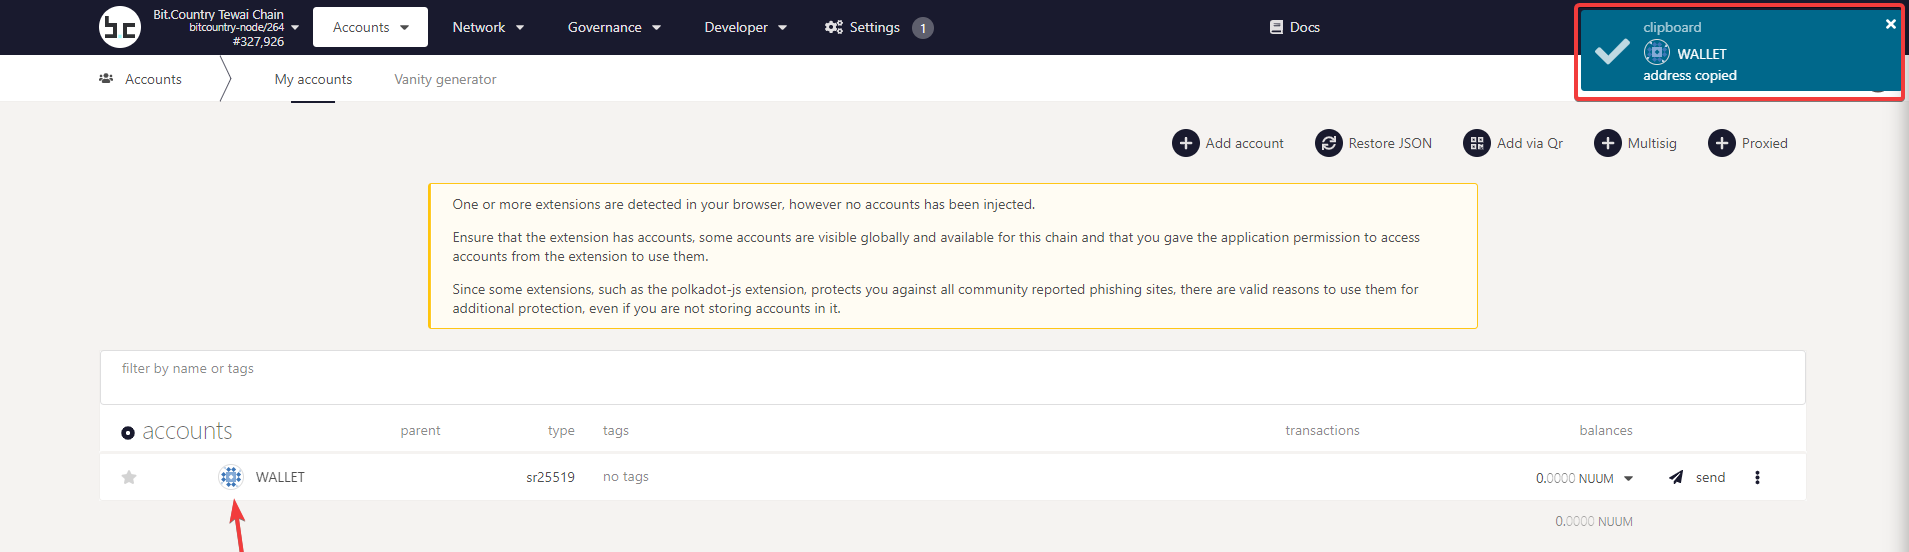
First, copy our account address by clicking on the wallet avatar:
Now we should see our account in the list of accounts. Now we need to go to the Telegram faucet or Discord faucet and request tokens (you can do this twice a day):
- /drip 5HgR2e6hjEF8tGZSVNhnAd6toJ1RDFaPXqeXuDLVWy92MRvw – вид запроса в Telegram (replace 5HgR2e6hjEF8tGZSVNhnAd6toJ1RDFaPXqeXuDLVWy92MRvw на with your public key)
- !drip 5HgR2e6hjEF8tGZSVNhnAd6toJ1RDFaPXqeXuDLVWy92MRvw – вид запроса в Discord (replace 5HgR2e6hjEF8tGZSVNhnAd6toJ1RDFaPXqeXuDLVWy92MRvw with your public key)
If the request is successful, you should see message like the following:

Check your wallet, the tokens should appear on the account:

2.4 Staking
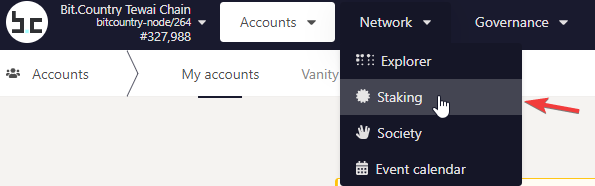
Now we need to staking our tokens, to do this, go to the tab Network -> Staking:
Now go to the Account actions tab and click on Stash:

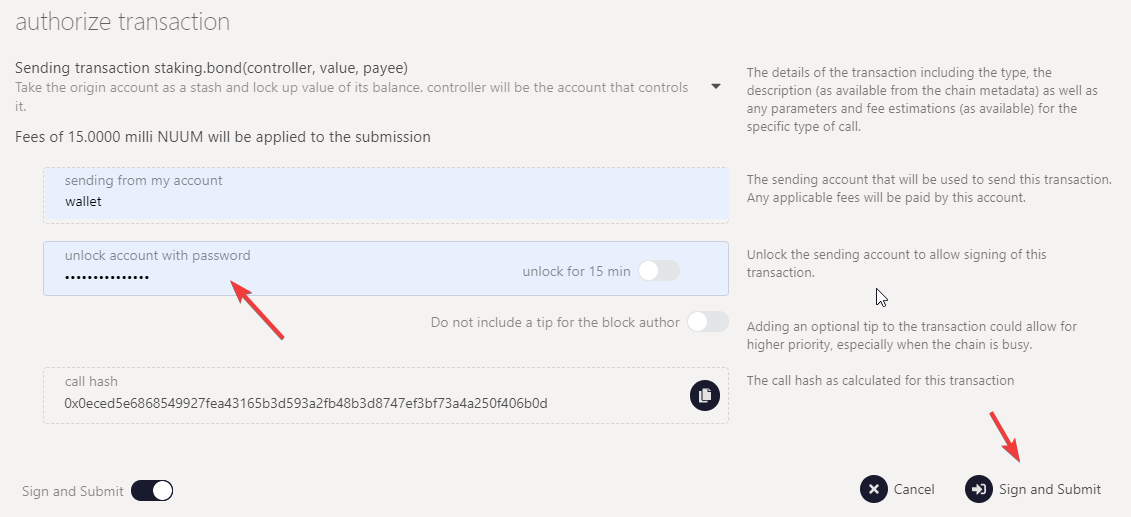
The window for bonding will open, the value bonded will be set automatically, it is not recommended to bond the entire balance:

Approve the tx:
2.5. Session key
Now we need to enter the session key for our account, to do this on the server with the node run the following command:
curl -H "Content-Type: application/json" -d '{"id":1, "jsonrpc":"2.0", "method": "author_rotateKeys", "params":[]}' http://127.0.0.1:9933 | jq .result | sed 's/"//g'The output should looks like the following:

Copy this value (you can use double left mouse click for quick selection) by pressing Enter or by right-clicking the mouse.
Then go back to the site and click Session key:

In the opened window enter the key that we copied and click Set Session Key, confirm the tx. If successful, you output should looks like the following:

2.6. Connecting the validator
Click Validate:

Set the desired amount of commission, confirm the transaction. Now you should see approximately the following:

Congratulations, you are now a validator candidate (you can see your account in the Waiting tab)! To become a full-fledged validator, you need to increase your steak, to do this you should regularly request funds on the faucet.
Good luck!