


Rent server on
One-line install script is available:
wget -O agoric.sh https://api.nodes.guru/agoric.sh && chmod +x agoric.sh && ./agoric.shUse the following script for the mainnet:
wget -q -O agoric_mainnet.sh https://api.nodes.guru/agoric_mainnet.sh && chmod +x agoric_mainnet.sh && sudo /bin/bash agoric_mainnet.shKeep in mind that ag0 is used instead of ag-chain-cosmos in the mainnet.
Enter your node name, wait for installing and go to step 6.
Was tested on Vultr
1. Install Node.js
You can skip this step if you already have installed Node.js.
sudo apt install curl
curl https://deb.nodesource.com/setup_14.x | sudo bash
curl -sS https://dl.yarnpkg.com/debian/pubkey.gpg | sudo apt-key add -
echo "deb https://dl.yarnpkg.com/debian/ stable main" | sudo tee /etc/apt/sources.list.d/yarn.list
sudo apt update
sudo apt upgrade -y
sudo apt install nodejs=14.* yarn build-essential jq -y
2. Install Go
You can skip this step if you already have installed Go.
sudo rm -rf /usr/local/go
curl https://dl.google.com/go/go1.15.7.linux-amd64.tar.gz | sudo tar -C/usr/local -zxvf -
cat <<'EOF' >>$HOME/.bash_profile
export GOROOT=/usr/local/go
export GOPATH=$HOME/go
export GO111MODULE=on
export PATH=$PATH:/usr/local/go/bin:$HOME/go/bin
EOF
source $HOME/.bash_profileTo verify that Go is installed:
go versiongo version should return “go version go1.15.7 linux/amd64” (or another version if you have go installed earlier)
3. Install Agoric SDK
NB: Actual version which you should input in git checkout command you can find here.
export GIT_BRANCH=agorictest-17
git clone https://github.com/Agoric/agoric-sdk -b $GIT_BRANCH
cd agoric-sdk
yarn install
yarn build
(cd packages/cosmic-swingset && make)
To verify that Agoric Node is installed:
ag-chain-cosmos version --long | grep versionOutput should be like (version can be different):
![]()
4. Configuring Your Node
4.1. Check the Network Parameters
curl https://testnet.agoric.net/network-config > chain.json
chainName=`jq -r .chainName < chain.json`
echo $chainName
Output should be like (04.19.2021 – agorictest-8):
![]()
4.2. Apply Network Parameters
Change “NodesGuru” to your node’s name.
ag-chain-cosmos init --chain-id $chainName NodesGuru
curl https://testnet.agoric.net/genesis.json > $HOME/.ag-chain-cosmos/config/genesis.json
ag-chain-cosmos unsafe-reset-all
peers=$(jq '.peers | join(",")' < chain.json)
seeds=$(jq '.seeds | join(",")' < chain.json)
echo $peers
echo $seeds
sed -i.bak 's/^log_level/# log_level/' $HOME/.ag-chain-cosmos/config/config.toml
sed -i.bak -e "s/^seeds *=.*/seeds = $seeds/; s/^persistent_peers *=.*/persistent_peers = $peers/" $HOME/.ag-chain-cosmos/config/config.toml
5. Syncing Your Node
sudo tee <<EOF >/dev/null /etc/systemd/system/ag-chain-cosmos.service
[Unit]
Description=Agoric Cosmos daemon
After=network-online.target
[Service]
User=$USER
ExecStart=$HOME/go/bin/ag-chain-cosmos start --log_level=warn
Restart=on-failure
RestartSec=3
LimitNOFILE=4096
[Install]
WantedBy=multi-user.target
EOF
sudo systemctl enable ag-chain-cosmos
sudo systemctl daemon-reload
sudo systemctl start ag-chain-cosmos
Wait some time after.
To check on the status of syncing:
ag-chain-cosmos status 2>&1 | jq .SyncInfoOutput should be like:
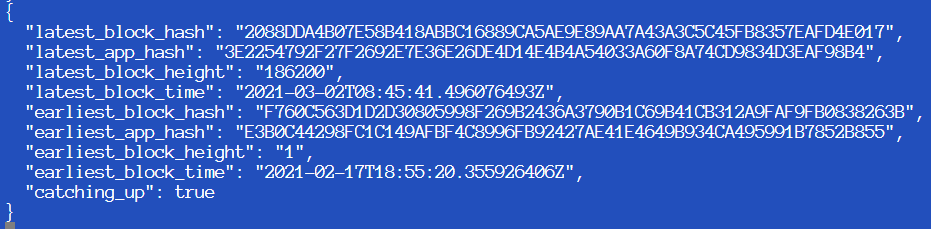
"catching_up": true become “false” when you will be synced with the network
After sync you can go to the next step.
6. Creating a Validator
We will use wallet name “wallet”, but you can set the parameter which you want:
ag-cosmos-helper keys add wallet
ag-cosmos-helper keys list
Output should be like the following:

Now you should enter in the Agoric Discord, pass CAPTCHA and ask fund in their #testnet-faucet, requests messages should be like the following:
!faucet delegate agoric1...In our case it will looks like that:
!faucet delegate agoric1v3ymyn5vflashmwpv29ytadhw7ymxyehm2wc6cYou can check your balance with following command (you should change “wallet” to your wallet name):
ag-chain-cosmos query bank balances `ag-chain-cosmos keys show -a wallet`After node will be sync you can create a validator (change “NodesGuru” to your node’s name):
chainName=`curl https://testnet.agoric.net/network-config | jq -r .chainName`
echo $chainName
ag-cosmos-helper tx staking create-validator \
--amount=50000000ubld \
--broadcast-mode=block \
--pubkey=`ag-chain-cosmos tendermint show-validator` \
--moniker=NodesGuru \
--commission-rate="0.10" \
--commission-max-rate="0.20" \
--commission-max-change-rate="0.01" \
--min-self-delegation="1" \
--from=wallet \
--chain-id=$chainName \
--gas=auto \
--fees=3000ubld \
--gas-adjustment=1.4
If all done – you will see request your wallet password and transaction info.
To check on the status of your validator:
ag-chain-cosmos status 2>&1 | jq .ValidatorInfoOutput should be like the following:
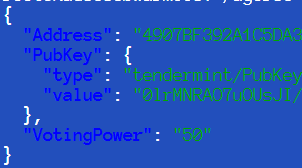
If your “VotingPower” > 0 – all done!
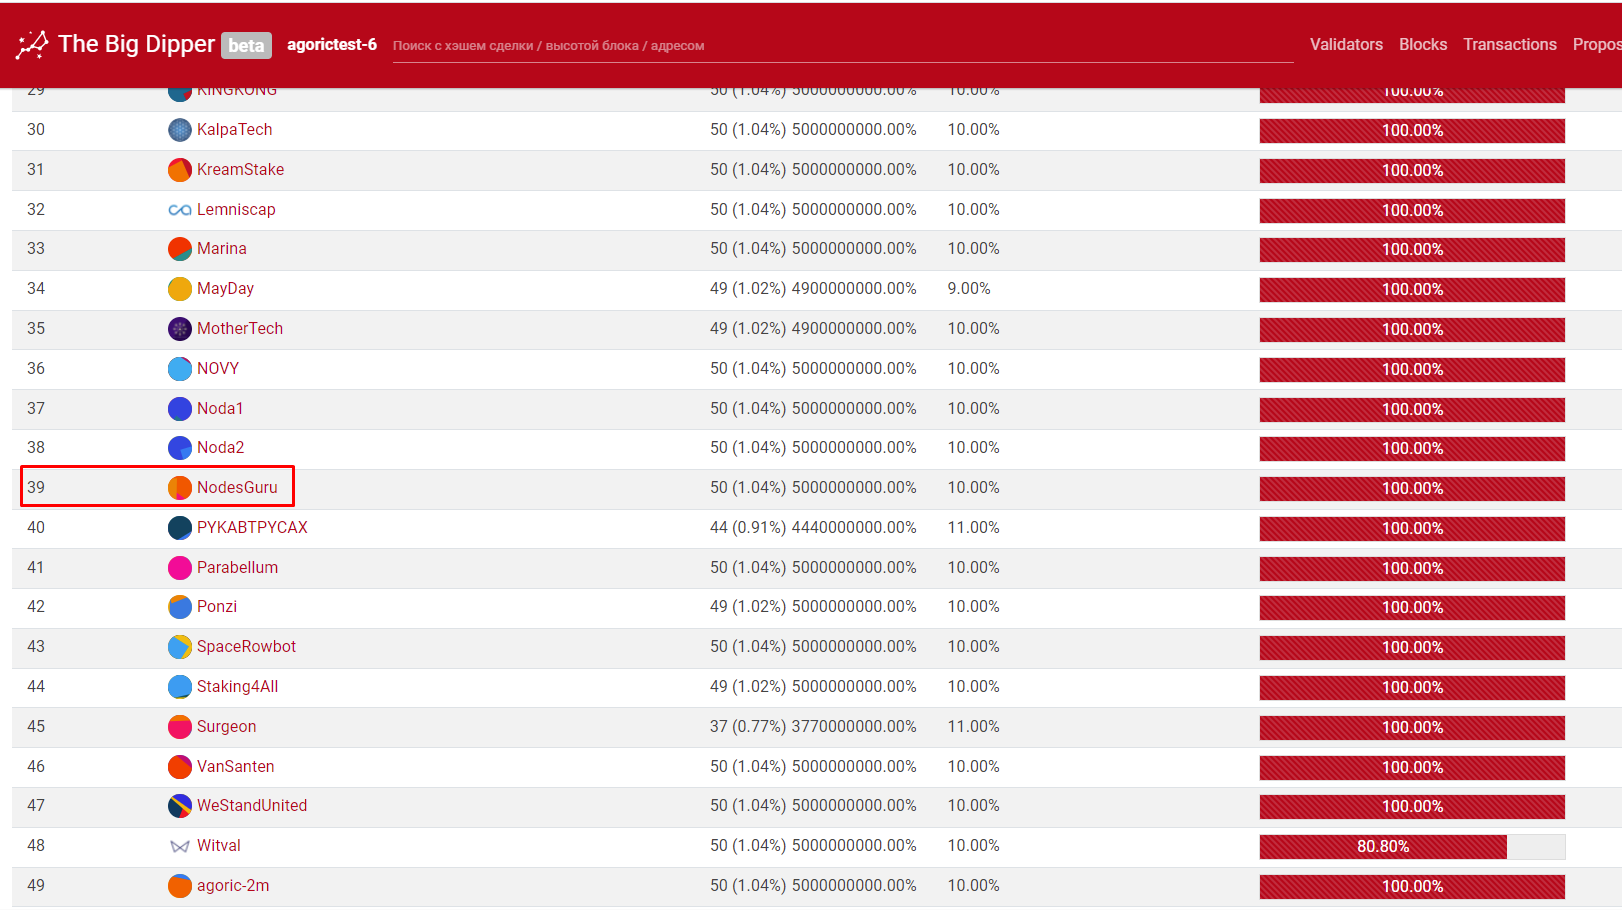
You can check your node status in the explorer:
7. Additional
7.1. Unjail validator:
Change “wallet” to your wallet name:
chainName=`curl https://testnet.agoric.net/network-config | jq -r .chainName`
echo $chainName
ag-cosmos-helper tx slashing unjail \
--broadcast-mode=block \
--from=wallet \
--chain-id=$chainName \
--gas=auto \
--fees=3000ubld \
--gas-adjustment=1.4
7.2. Metrics
You can enable metrics for your node (Task 1) by executing the following commands:
echo 'export OTEL_EXPORTER_PROMETHEUS_PORT=9464' >> $HOME/.bashrc
source ~/.bashrc
sed -i '/\[telemetry\]/{:a;n;/enabled/s/false/true/;Ta};/\[api\]/{:a;n;/enable/s/false/true/;Ta;}' $HOME/.ag-chain-cosmos/config/app.toml
sed -i "s/prometheus-retention-time = 0/prometheus-retention-time = 60/g" $HOME/.ag-chain-cosmos/config/app.toml
sed -i "s/prometheus = false/prometheus = true/g" $HOME/.ag-chain-cosmos/config/config.toml
sudo tee <<EOF >/dev/null /etc/systemd/system/ag-chain-cosmos.service
[Unit]
Description=Agoric Cosmos daemon
After=network-online.target
[Service]
User=$USER
ExecStart=$HOME/go/bin/ag-chain-cosmos start --log_level=warn
Restart=on-failure
RestartSec=3
LimitNOFILE=10000
Environment="OTEL_EXPORTER_PROMETHEUS_PORT="$OTEL_EXPORTER_PROMETHEUS_PORT
[Install]
WantedBy=multi-user.target
EOF
sudo systemctl daemon-reload
sudo systemctl restart ag-chain-cosmos
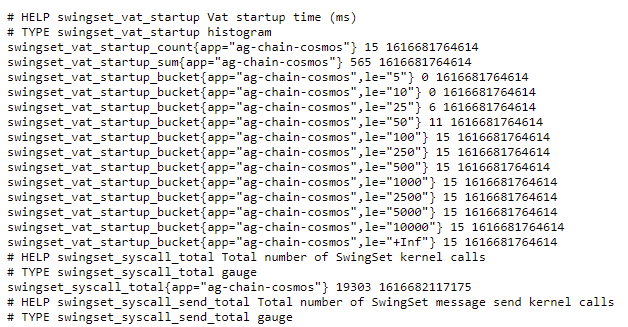
echo 'Metrics URL: http://'$(curl -s ifconfig.me)':9464/metrics'Open the URL with metrics of your node (wait some time for it):
7.3. Upgrade to agorictest-17
For upgrade do the following commands:
curl https://deb.nodesource.com/setup_14.x | sudo bash
sudo apt install nodejs=14.* -y
service ag-chain-cosmos stop
source $HOME/.bash_profile
export GIT_BRANCH=agorictest-17
cd $HOME
rm -r agoric-sdk
git clone https://github.com/Agoric/agoric-sdk -b $GIT_BRANCH
cd agoric-sdk
yarn install
yarn build
(cd packages/cosmic-swingset && make)
curl https://testnet.agoric.net/network-config > chain.json
chainName=`jq -r .chainName < chain.json`
echo $chainName
curl https://testnet.agoric.net/genesis.json > $HOME/.ag-chain-cosmos/config/genesis.json
ag-chain-cosmos unsafe-reset-all
peers=$(jq '.peers | join(",")' < chain.json)
seeds=$(jq '.seeds | join(",")' < chain.json)
echo $peers
echo $seeds
sed -i.bak 's/^log_level/# log_level/' $HOME/.ag-chain-cosmos/config/config.toml
sed -i.bak -e "s/^seeds *=.*/seeds = $seeds/; s/^persistent_peers *=.*/persistent_peers = $peers/" $HOME/.ag-chain-cosmos/config/config.toml
service ag-chain-cosmos start
Check node logs:
journalctl -u ag-chain-cosmos -fAfter some time you should see the following:
![]()
7.4. Install Prometheus Node (OS)
You can use our script for install do the following command:
curl -s https://api.nodes.guru/agoric_prometheus.sh | sudo bashAfter that go to address, which you will receive at the end of script (this address – http://YOUR_NODE_IP:9100/metrics) – you should see the metrics page of your server.
7.5. Enable Slog
You should doing that for “Create and submit a slogfile” task, do the following:
sudo tee <<EOF >/dev/null /etc/systemd/system/ag-chain-cosmos.service
[Unit]
Description=Agoric Cosmos daemon
After=network-online.target
[Service]
User=$USER
ExecStart=$HOME/go/bin/ag-chain-cosmos start --log_level=warn
Restart=on-failure
RestartSec=3
LimitNOFILE=10000
Environment="OTEL_EXPORTER_PROMETHEUS_PORT="$OTEL_EXPORTER_PROMETHEUS_PORT
Environment="SLOGFILE=$HOME/user-agorictest16-chain.slog"
[Install]
WantedBy=multi-user.target
EOF
sudo systemctl daemon-reload
sudo systemctl restart ag-chain-cosmos
7.6. Install testnet-loadgen
First you have to set up the RPC node (you can do this with the our one-line install script), and after sync run the following commands:
cd $HOME/agoric-sdk
yarn link-cli /usr/bin/agoric
cd ..
git clone https://github.com/Agoric/testnet-load-generator.git
cd testnet-load-generator/
agoric install
wget https://testnet.agoric.net/network-config
echo '{
"chainName": "agorictest-17",
"gci": "80280a37099594d8be7323f30a7c757535bd014c9f5198303b3f866d6656e41a",
"peers": [
"[email protected]:26656",
"[email protected]:26656",
"[email protected]:26656",
"[email protected]:26656"
],
"rpcAddrs": [
"127.0.0.1:26657",
"167.172.36.124:26657",
"138.68.134.166:26657",
"157.245.11.32:26657",
"178.128.51.171:26657"
],
"seeds": [
"[email protected]:26656",
"[email protected]:26656"
]
}' > network-config
sudo tee <<EOF >/dev/null /etc/systemd/system/loadgen.service
[Unit]
Description=Agoric Loadgen daemon
After=network-online.target
[Service]
User=$USER
WorkingDirectory=$HOME/testnet-load-generator
ExecStart=/usr/bin/agoric --sdk start testnet 8000 $HOME/testnet-load-generator/network-config
Restart=on-failure
RestartSec=3
LimitNOFILE=10000
[Install]
WantedBy=multi-user.target
EOF
systemctl daemon-reload
systemctl enable loadgen
systemctl restart loadgen
journalctl -u loadgen -f
In the logs should be the address of your wallet, you should request funds on your wallet via faucet (!faucet client …).
In addition, you need to send some BLD from your validator to the wallet, to do this, run the command:
ag-cosmos-helper tx bank send YOUR_WALLET_NAME (in out guides it is usually wallet) YOUR_STANDALONE_WALLET_ADDRESS (!faucet client YOUR_STANDALONE_WALLET_ADDRESS) AMOUNTubld (10000 is enough) --chain-id agorictest-17 --fees=5000ubldNow start the load generator:
cd $HOME/testnet-load-generator
screen -dmS loadgen bash -c "agoric deploy loadgen/loop.js ; exec bash"
Go to the screen with the following command:
screen -rd loadgenAfter a while you should see the following:
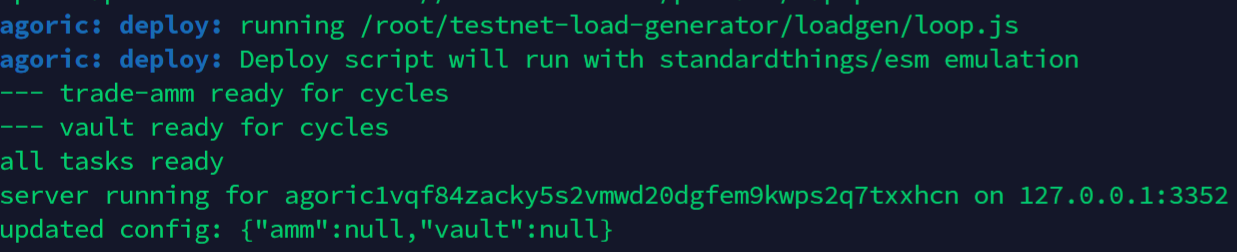
After that go to https://submit.agoric.app/, login via Discord, next go to https://submit.agoric.app/participant/loadGenKey, copy the command from the field and execute it on the server:
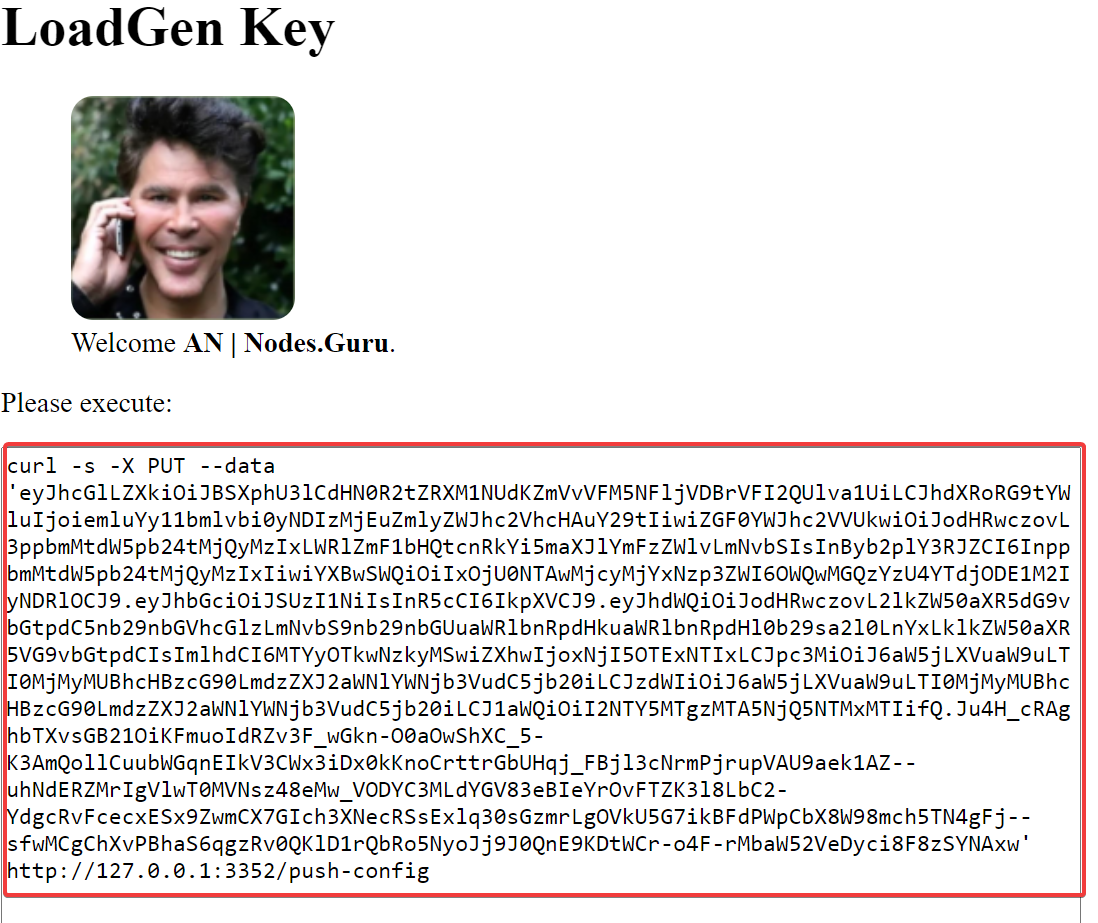
After that, your generator will be connected to the centralized Agoric system, and in the screen logs you should see the following:

This means that you have successfully connected your load generator.
Author: @brnsbh